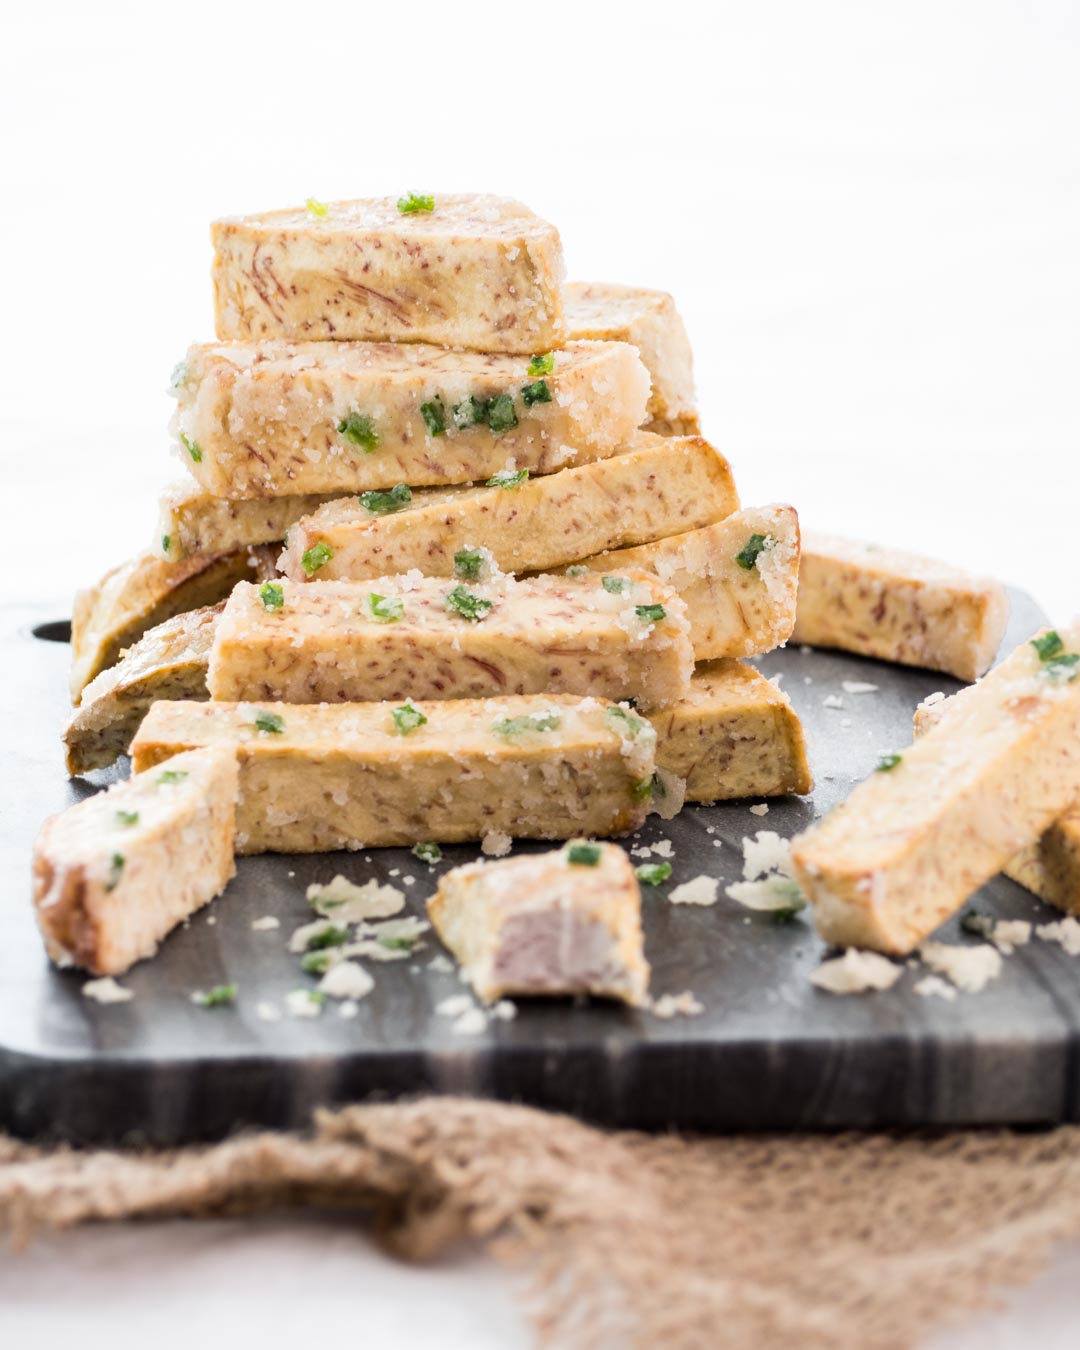
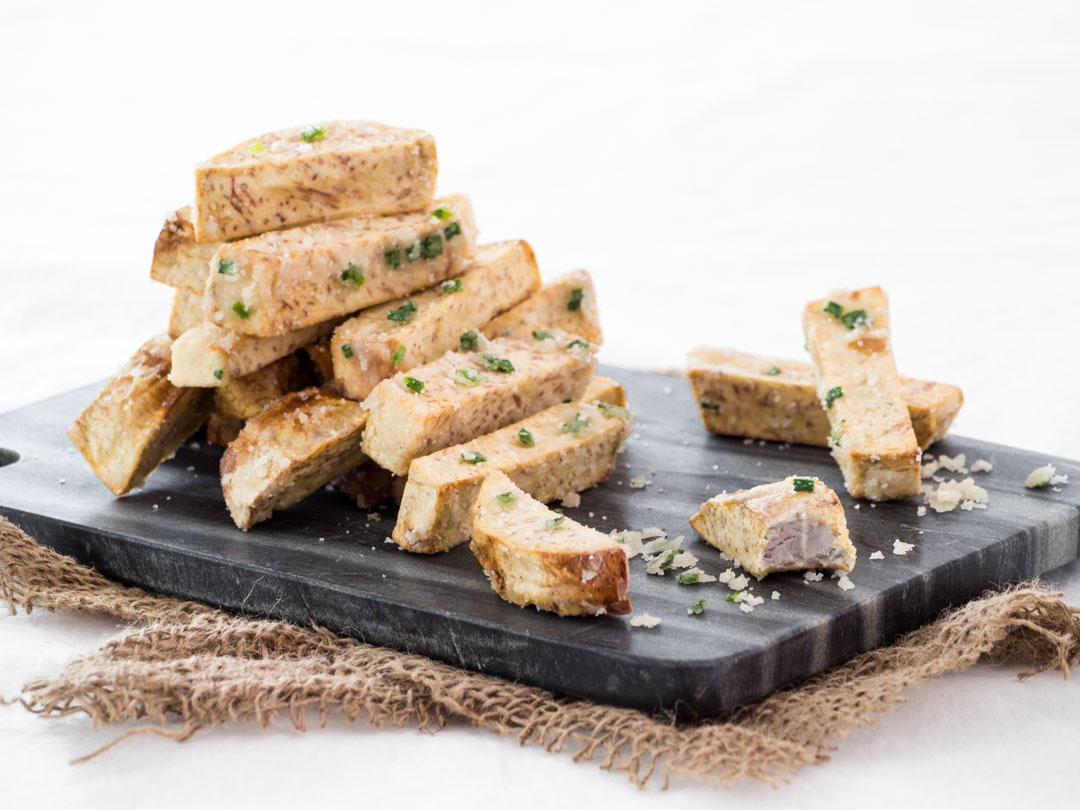
How familiar are you with taro? From my experience, the stuff is like Marmite in that you either hate it or love it. Too many people in my life hate it, but I ABSOLUTELY love it.
When I was growing up, my mother used to make different Thai desserts using taro and I enjoyed all of them (partly because I was a fat kid who enjoyed pretty much anything edible). I just really like its soft and dense texture. Also, we're lucky enough to get the variety that has a really nice smell here in Thailand, which adds more to the goodness of this little guy.
This addictive taro snack or dessert recipe I'm sharing with you today is not Thai. I believe it originated in China, and Chinese restaurants seem to be the only places I've ever found it here in Thailand. Although this deep-fried sugared taro is more of a snack to me, it's often listed in the dessert section of the menu in Thai-Chinese restaurants. I suppose it's not entirely wrong, but as much as I love it, I think it can be a little bit too much after a Chinese meal that's, let's be honest, usually oily. Besides, it seems to be way overpriced in restaurants for God knows what reason.
If you like this deep-fried sugared taro, I think it's best you make it yourself because you can control the ingredients. You know, like, what oil you're using, the amount of sugar, that sort of thing. Also, it'll be much cheaper. And the best part? You don't have to eat it right after a meal and you can enjoy it with your favorite cup of tea (or try my honey and lemon green tea) as an afternoon pick me up instead! Trust me, it's so much better this way. Not to mention it's not complicated to make at all.
So what are you waiting for? Get the shopping done and give this recipe a try. I promise you'll love it!
📖 Recipe

Deep-Fried Sugared Taro Recipe
Ingredients
- 1½ cups oil
- 800 grams taro cut into 1.5 cm thick sticks
- ¾ cup granulated sugar
- 3 tablespoons water
- ½ teaspoons salt
- ½ cup finely chopped green onions
Instructions
- Heat oil in a wok over medium-high heat. Once the oil is hot, deep-fry the taro in two batches for about 4-5 minutes each. Be careful not to let it get too brown.
- When the taro is done, turn off the heat and use a slotted spoon to transfer it to a large plate lined with paper towels.
- Remove the oil from the wok (this can be stored for later use) and use a paper towel to discard any excess oil in the wok.
- Over low heat, dissolve sugar and salt with water. Once the sugar is fully dissolved, add the green onions and turn off the heat.
- Add the fried taro back to the wok and use two spoons to mix the taro with the sugar mixture, making sure every piece is coated on all sides. Let the sugar solidify and serve warm.
Notes
Please also remember to pin me! 🙂
All images & content are copyright protected. Please do not use my images without prior permission. If you want to republish this recipe, please re-write the recipe in your own words, or link back to this post for the recipe.


