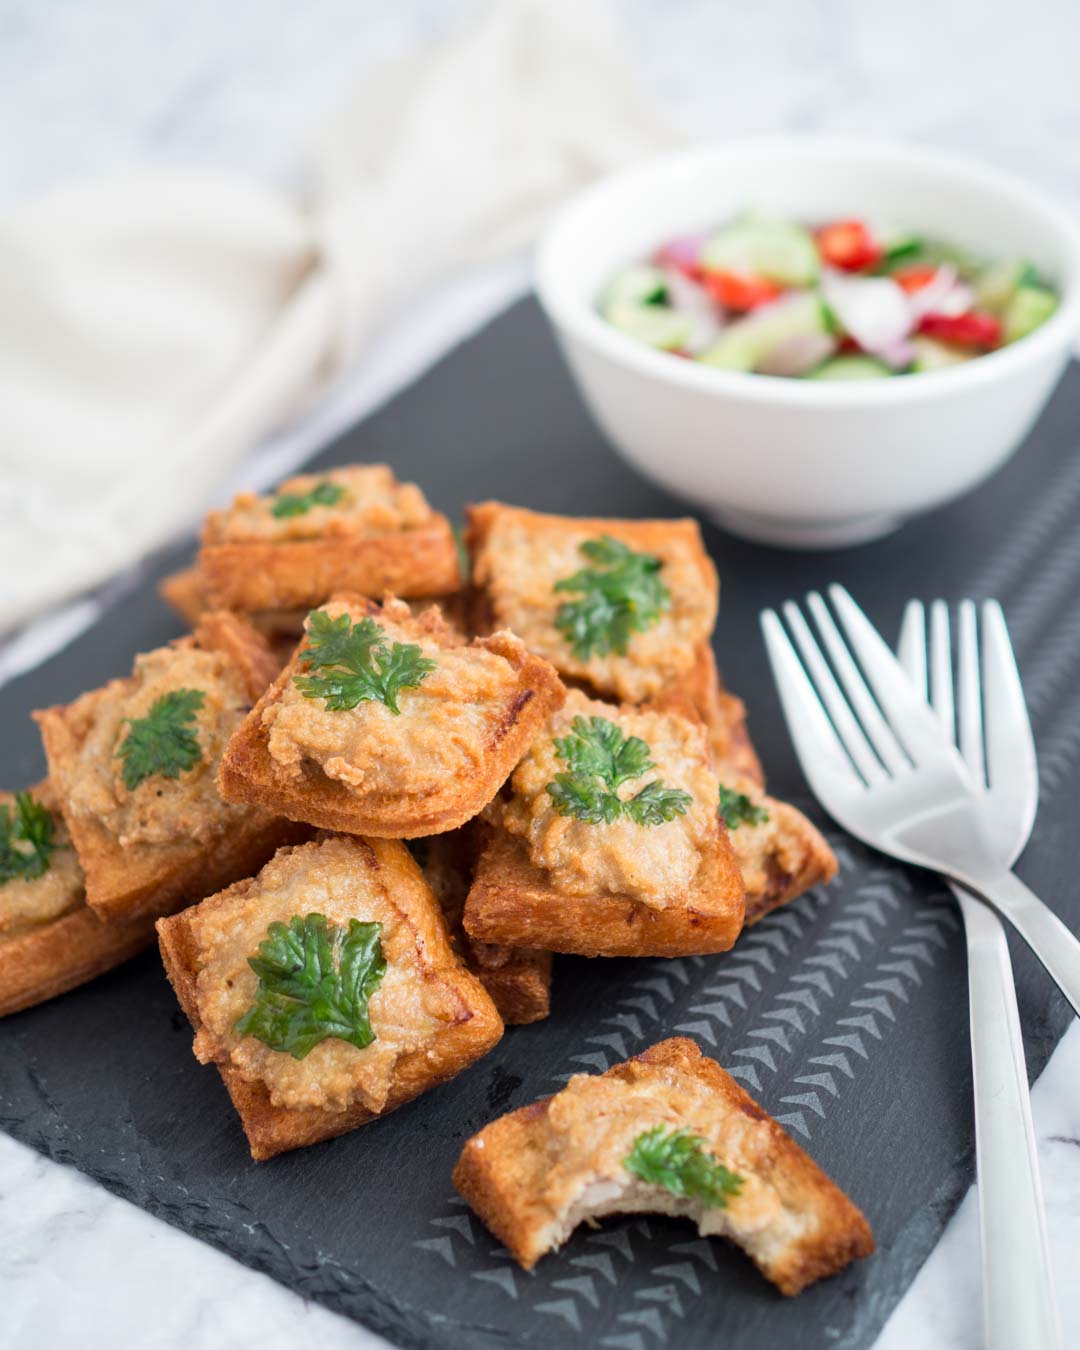
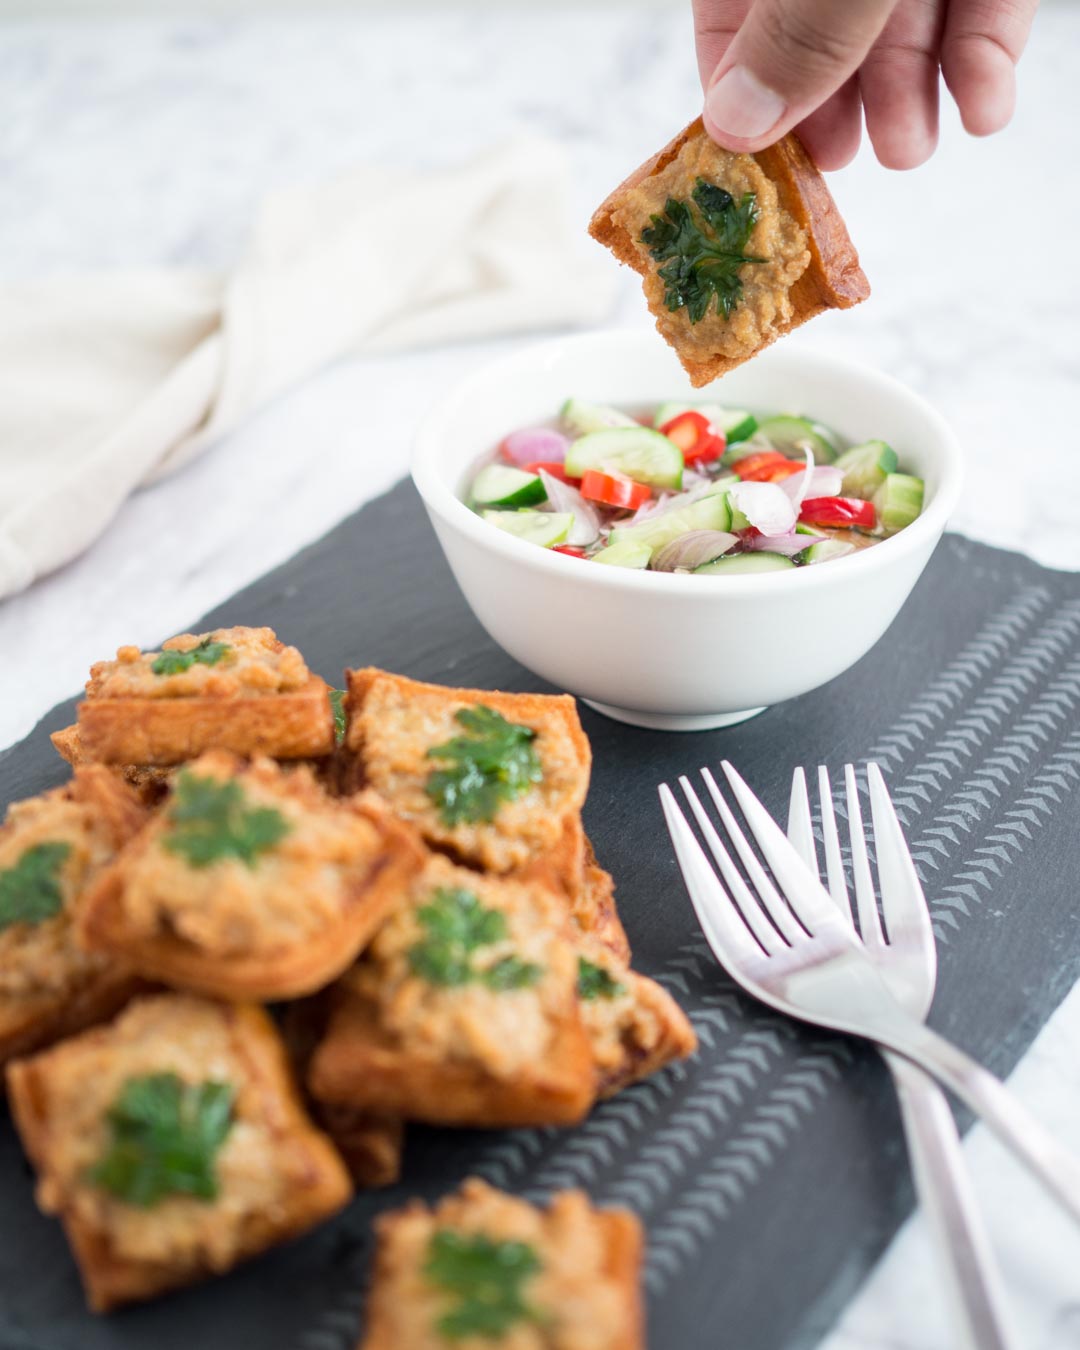
Like my crispy air fryer wontons with pork, Thai pork toast or Khanom pang na moo is one of the most addictive and filling Thai snacks. If you're looking for a finger food recipe to make for a party or a game-day recipe, look no further! This is it!
Thai pork toast requires pretty much just basic ingredients, most of which you'll already have in your pantry. if you've had it as an appetizer in a Thai restaurant, you might think it looks like a lot of work. But actually it's really easy to make.
Believe it or not, it's one of the first things many Thai kids learn cook with their moms, apart from instant noodles and fried egg, ha! I think the reason is that this toast is fun to make and a hearty snack. Although it can be greasy because it's fried, I know my mom always preferred me to eat something like this over sugary sweets when I was a kid.
For those of you who worry about the grease, I've included some tips in the instructions below already. And they're to toast the bread before cutting so that it absorbs less oil and to use paper towels to drain the oil. With that said, Khanom pang na moo should be eaten in moderation because at the end of the day it's fried.
In the recipe below, you'll also notice that I use a food processor to grind pork by myself. That's just because Thai supermarkets and butchers like to use a lot of fat in their ground pork and I don't really like it. If you don't have a food processor and you're happy with the ground pork you can get, simply pound the garlic, cilantro root and white peppercorns in a mortar with a pestle very finely and combine the mixture with the soy sauce, sugar and beaten egg before mixing it with the pork.
Now the cucumber relish - this stuff goes so well with the toast and it helps balance things out. Without it you'll quickly find the toast a bit too greasy. If you're not a fan of cucumber or don't like the relish for whatever reason, I have a secret for you. Make this Thai sweet chili sauce to go with the toast and you'll be just fine. But don't tell anyone I said that. 😛
📖 Recipe

Thai Pork Toast | Khanom Pang Na Moo Recipe
Ingredients
For the Toast
- 8 slices sandwich bread
- 300 grams ground pork I get lean pork to grind
- 5 cloves garlic
- 1 cilantro root
- ½ teaspoon white peppercorns
- ½ tablespoon soy sauce
- 1 tiny pinch sugar
- 1 egg beaten
- 32 fresh cilantro leaves
- 2-3 cups frying oil
For the Ajaad (Sweet and Sour Cucumber Relish)
- 6 shallots sliced
- 1 cup cucumber cut in half and sliced
- chopped chilies any kind and as many as you prefer
- 1½ cup water
- 3 ⁄4 cup granulated sugar
- 6 tablespoons vinegar
Instructions
For the Ajaad
- Over medium-low heat, dissolve the sugar in the water and add vinegar.
- Stir until thickened up and remove from heat to let cool.
- Put the vegetables and a bowl and pour the cooled vinegar mixture over the vegetables when the toast is ready to be served.
For the Toast
- Toast the bread so that it doesn't absorb too much oil when fried and stays crunchy longer.
- Cut each slice of bread into 4 even pieces.
- In a food processor, combine the garlic, cilantro root, white peppercorns, soy sauce, sugar and pork and process until smooth.
- Mix the beaten egg with the pork mixture.
- Spread about a tablespoon of pork on each piece of the cut bread, making sure the pork isn't too thick and that you have enough for all the bread.
- For every piece of bread, put a cilantro leave on top of the pork.
- In a frying pan, heat oil over medium heat. Fry the toast in batches by dropping about 6-7 pieces of toast individually each time with the pork side down into the pan. Once the pork side is golden brown, flip the pieces and fry until the other side is golden brown. Be careful not to burn the toast!
- Transfer the toast to a towel-lined plate with a slotted spoon.
- Arrange the toast on a serving plate and serve with the ajaad.
Please also remember to pin me! 🙂
All images & content are copyright protected. Please do not use my images without prior permission. If you want to republish this recipe, please re-write the recipe in your own words, or link back to this post for the recipe.


