Love Thai-style sticky rice? Then this how-to guide is perfect for you, as it explains how to make sticky rice step by step. With this, you can make your own soft and fluffy sticky rice to enjoy with grilled meats, Thai salads or any other Thai dishes that you love.
What Is Sticky Rice?
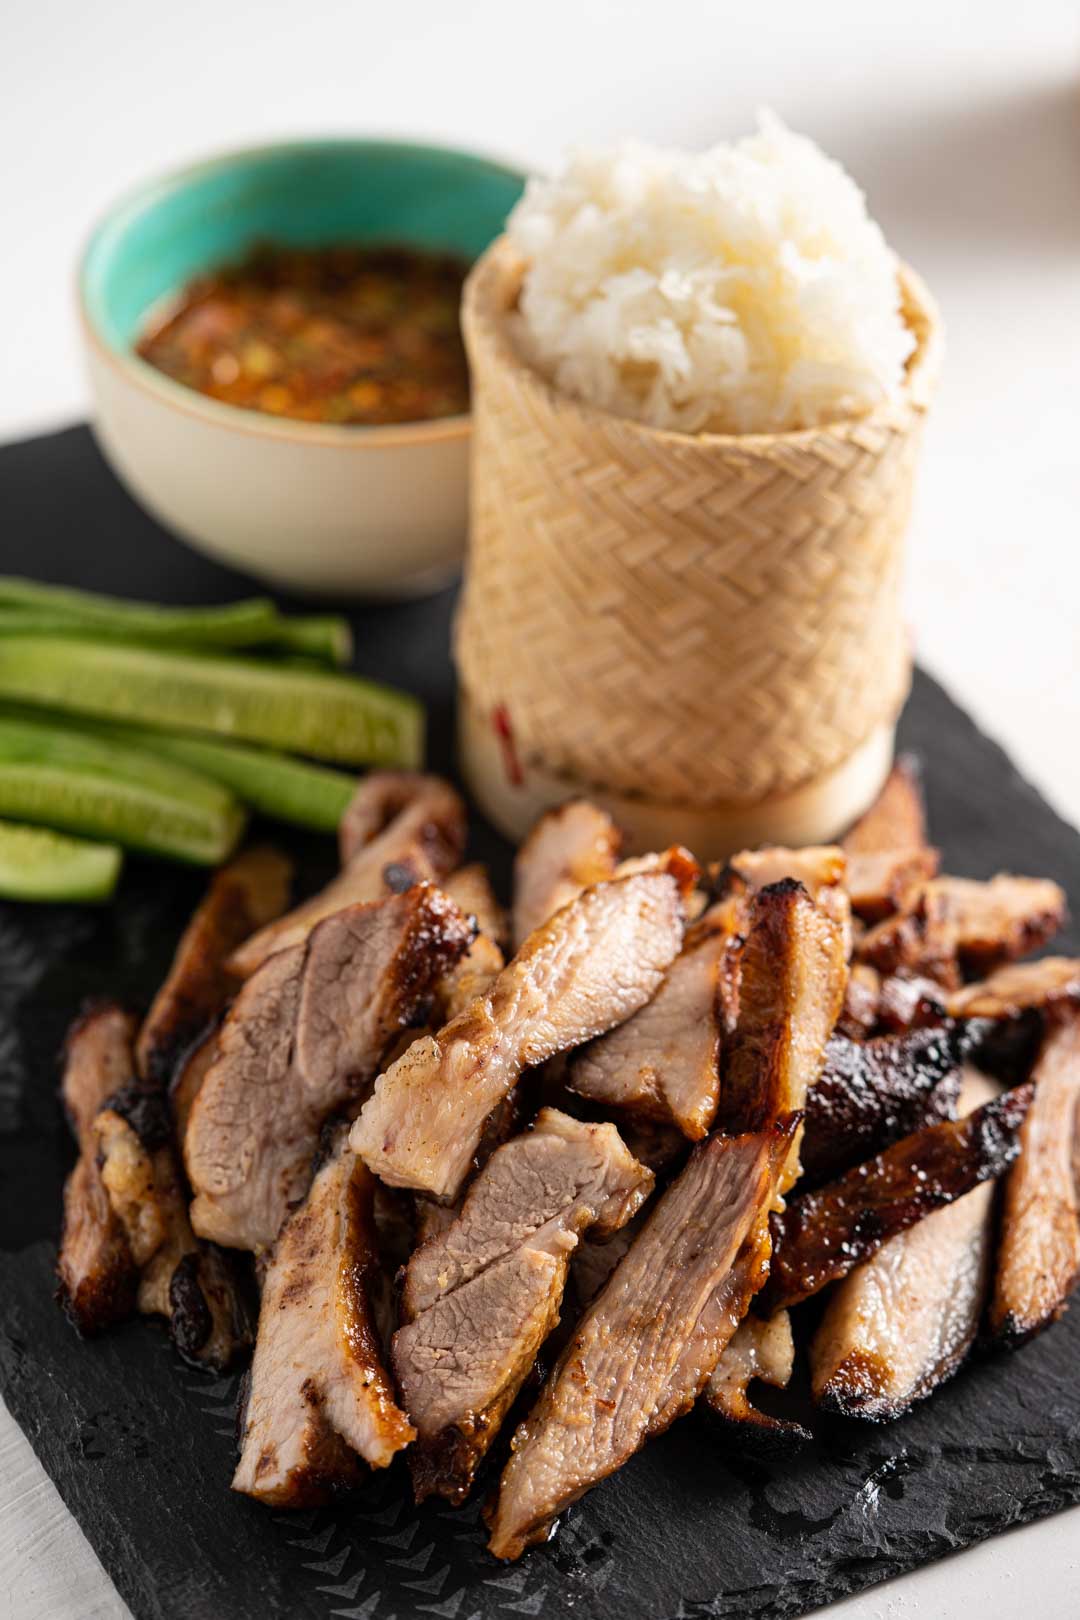
Sticky rice, also known as glutinous rice or sweet rice is a type of grain that becomes sticky when cooked. In Thai, we call it "khao neow" (ข้าวเหนียว) which literally translates to "rice sticky." Sticky rice is largely grown in Northeastern Thailand and Laos and a staple in the Thai Isan or Northeastern Thai cuisine (อาหารอีสาน). It's eaten as the main filler with the Thai Isan dishes such as konjac laab, laab moo, namtok, somtam, grilled chicken and grilled pork neck. These last three are usually accompanied by nam jim jaew, which is an amazing sauce to dip any grilled meat or sticky rice in. Also often enjoyed with sticky rice are a few Northern Thai foods such as sai-ua (Northern Thai pork sausages) and nam prik noom (Northern Thai green chili dip).
Other than being the main source of carbs in your Thai isan meals, sticky rice is generally enjoyed with grilled meat skewers like moo ping and gai yang (grilled pork and chicken skewers), Thai-style fried chicken, pork and beef. Also, it is used as the main ingredient in many Thai desserts such as mango sticky rice, Thai rice pudding with corn (there are many variations of Thai rice pudding made with various kinds of fruit), while also being the best type of rice to use for making toasted rice powder - another important ingredient in the Thai Isan cuisine.
Equipment We Use to Make and Store Sticky Rice in Thailand
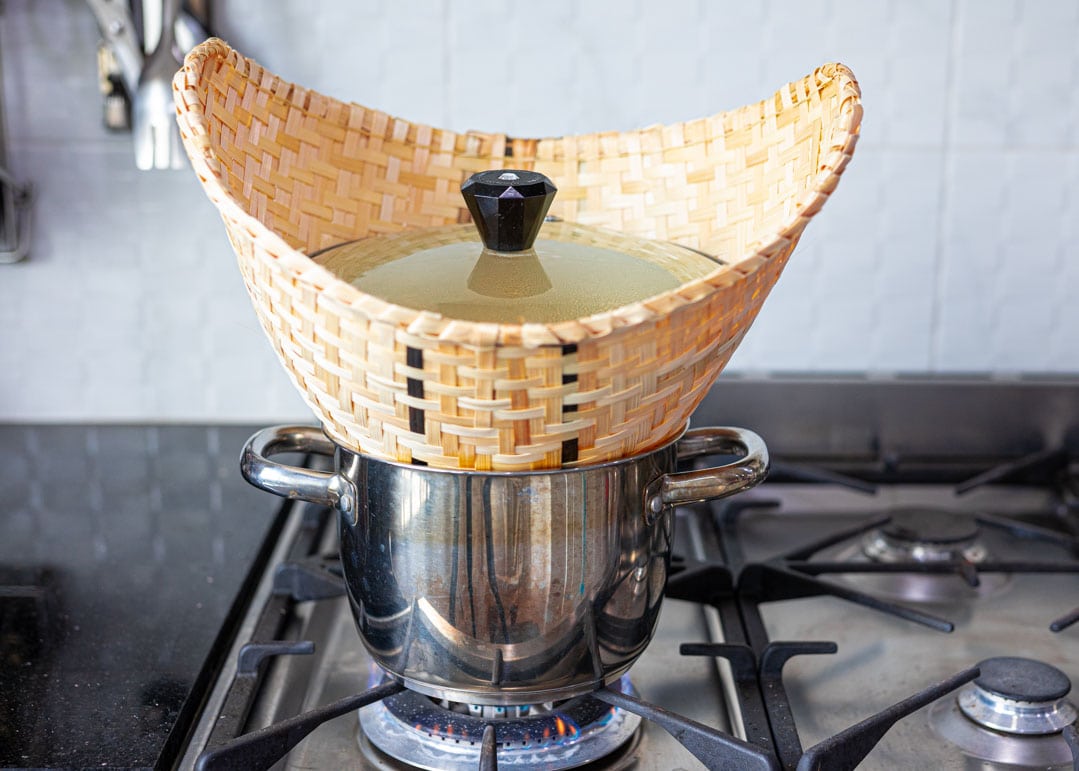
1. Huad Nueng Khao Neow (หวดนึ่งข้าวเหนียว)
A huad or sticky rice bamboo steamer basket is made from bamboo. It's shaped like the Vietnamese conical hat but closed at the bottom and wide open at the top instead. This basket is worth investing in if you're planning to make sticky rice a lot. In Thailand, you can find these baskets at wet markets. I've never seen them in other parts of the world, but you can easily order one from amazon here. With this, you'll be able to cook a large amount and transfer the cooked rice to a container pretty easily. If you don't have this, you can use any kind of steamer you have. Make sure you line a cheesecloth on your steaming rack so that it's easy to remove the rice.
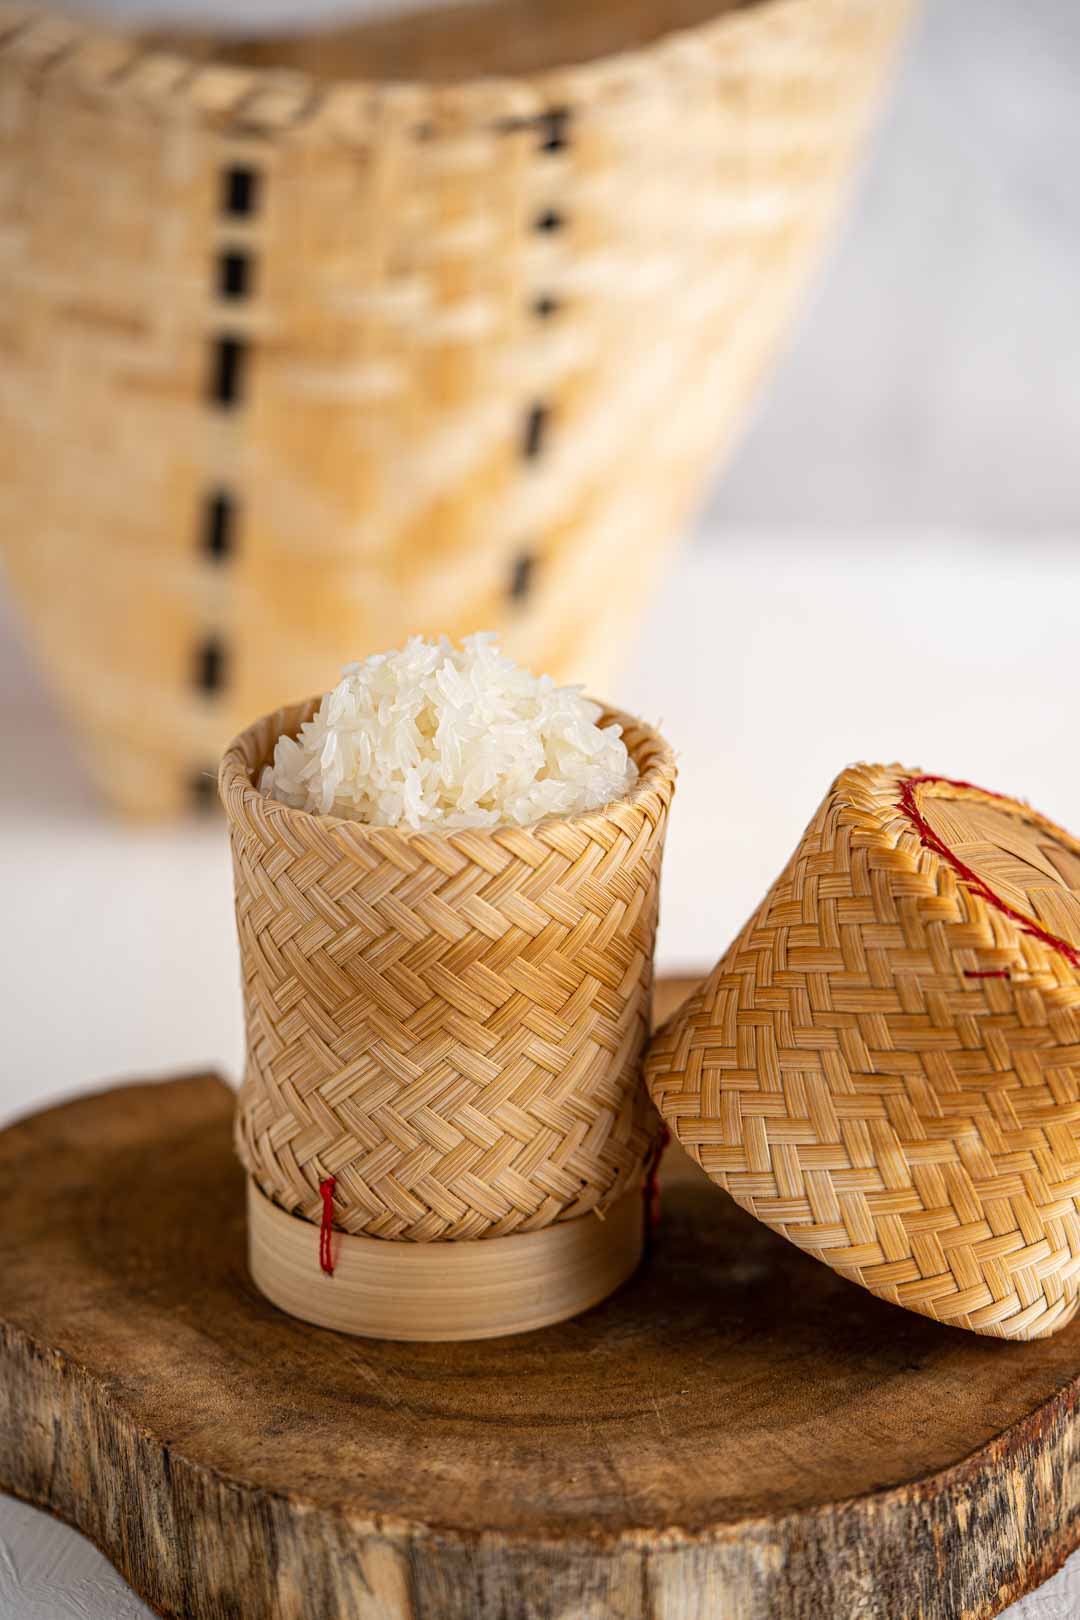
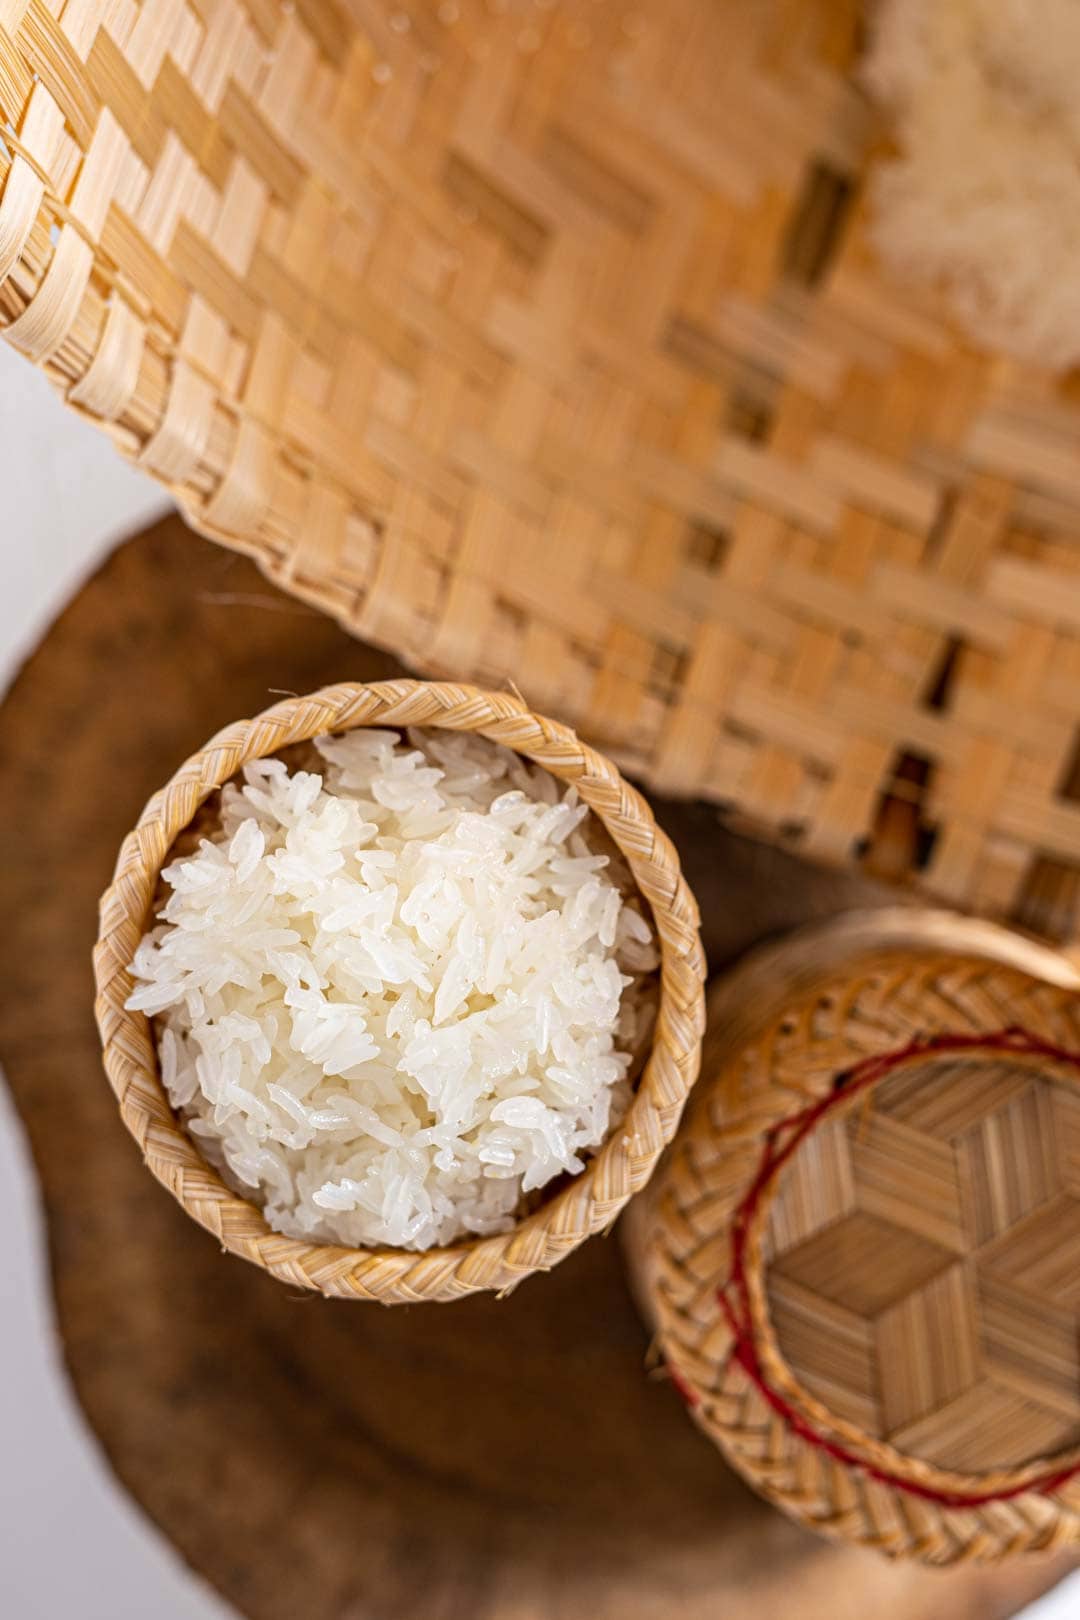
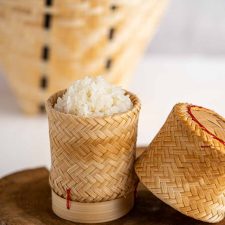
2. Kratib Khao Neow (กระติ๊บข้าวเหนียว)
A kratib khao neow (sometimes spelled kradib) is, again, a bamboo basket which we use to serve and store sticky rice. If you're planning to make a large amount of sticky rice a lot, you can get a large kratib here. But if you just want a serving size like you see in my photos in this post, you can get them here. A kratib is great for storing sticky rice because it comes with a lid. If you leave cooked sticky rice open at room temperature, it hardens when it's cool and not good to eat anymore. The kratib keeps the sticky rice nice and soft all day long and it really does give you those homemade feels! Alternatively, you can keep your rice in an airtight container.


Making Sticky Rice on the Stove Top with a Bamboo Steamer Basket (Huad)
There are a few ways to cook sticky rice, but in this post, I'm going to explain how to cook it using a huad on the stove top. With this method, I guarantee you'll get that perfectly soft rice with each kernel separate from each other every time! So here's the process:
1. Rinsing and Soaking
Rinse 2 cups of glutinous rice in a bowl or pot until the color of the water turns from milky to clear. You might have to do this as many as 5 times.
Soak the rice overnight or for at least 10 hours. This is the tip I got from the lady at the rice store. She told me this would make it soft and it always works!
2. Steaming
Depending on the size of your pot or whether you're using a huad or metal steaming rack, add just enough water to boil without drying out over medium heat for 30 minutes. Make sure that the water isn't too high so that it doesn't touch rice. Then, boil that pot of water over medium heat. For the pot you see in the pictures above, I use about 1.5-2 cups of water. If you're using a huad, you don't want to use a pot that's very large because the bottom of the huad will touch the bottom of the pot, meaning some of the rice will be in the water.
Next, transfer the soaked rice from your container into the huad. Then, put the huad in the pot and cover with any pot lid you have that fits. If using a steaming rack, line the rack with a cheesecloth and add the rice on top of the cloth. Pat the rice flat and put the rack over the pot and cover with a lid. Steam for 15 minutes.
With the heat still on, put on oven mitts and open the lid. Then, lift the huad or steaming rack with two hands and gently toss to turn the rice at the bottom up to the top and vice versa. If you find this difficult to do, use a spatula to turn the rice instead. After that, cover the lid and steam for another 15 minutes. This step is to ensure that the rice will be cooked beautifully and evenly.
3. Storing and Reheating
After steaming for 30 minutes, open the lid to check that the rice is all cooked. Then, turn off the heat and transfer the cooked rice to a large bowl.
Use the spatula to spread the rice so that it releases the heat. Then, transfer the rice to a sticky rice basket or your preferred container to serve or store in an airtight container at room temperature so it stays soft until ready to eat.
If you don't finish the rice within one day, you can store it in an airtight container and keep it in the refrigerator for 2-3 days. To reheat, simply sprinkle a bit of water over the rice and microwave at the highest heat for 1-2 minutes. If the rice still comes out hard, sprinkle some more water on and microwave again for another minute.
Ways to Eat Sticky Rice
With your fingers, of course! When I was a kid, I used to use the palms of my hands to roll sticky rice into balls and eat them one by one. Fortunately, I grew up and realized that the palms sweat a lot more than the fingertips and that it's not the most hygienic way to eat it. 😁 So, that was the end of that.
The better way for you to eat it is to use your thumb and index finger to pick a bite-size off of the whole thing. We usually use a fork or spoon to take and eat some food from the dishes we're having it with first and follow with a ball of sticky rice. If you're in a restaurant where it's less casual, you can use a fork to stick out a ball of rice from your serving. Some people like to eat side dishes with sticky rice in one bite too. Others like to dip it in sauces or and side dishes.
Other Recipes You Might Enjoy:
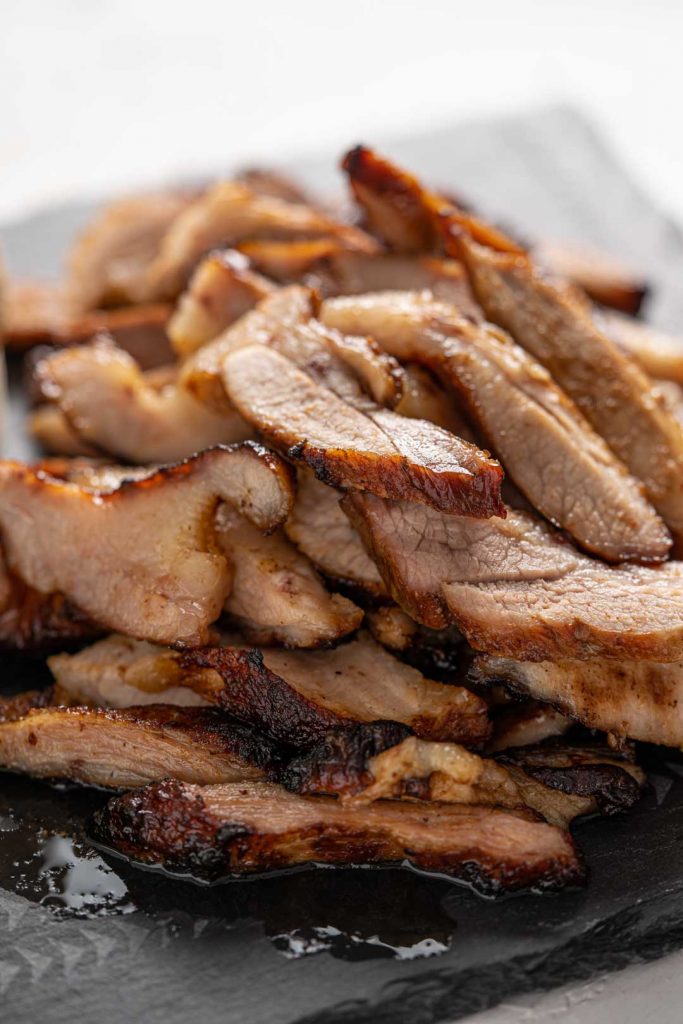
- Thai Grilled Pork Neck (Kor Moo Yang)
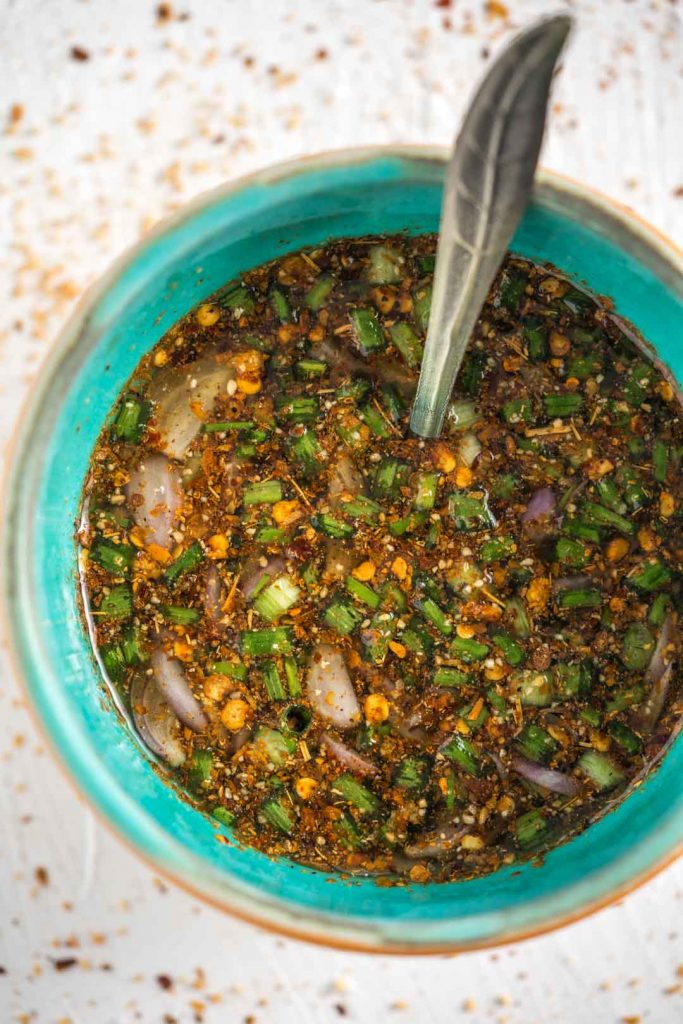
- Thai Chili Dipping Sauce (Nam Jim Jaew)
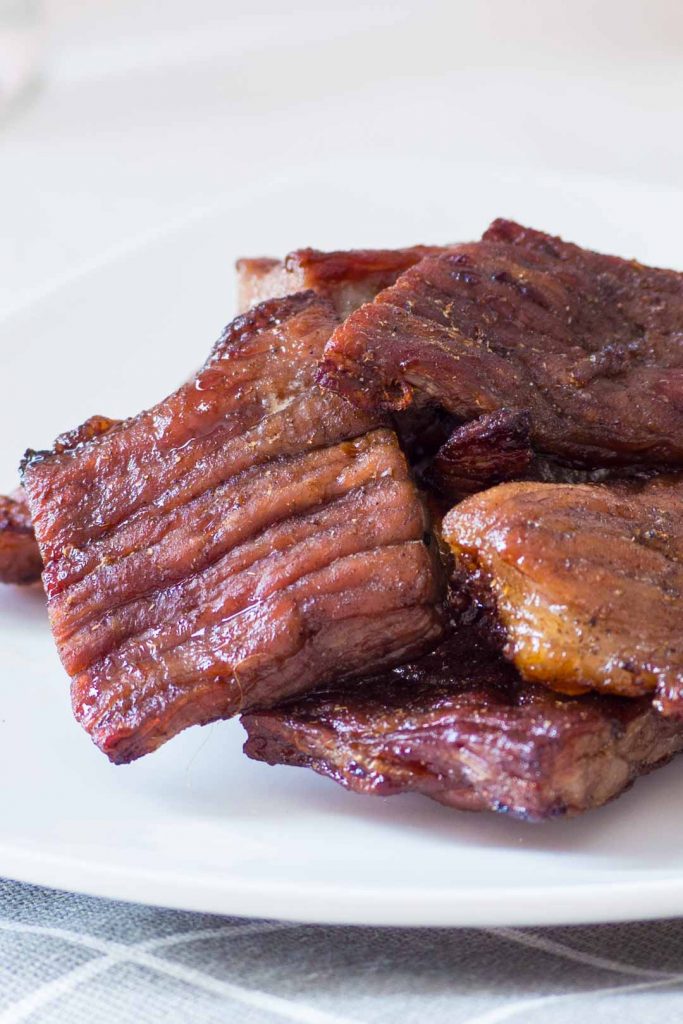
- Fried Thai Sun-Dried Beef (Nua Dad Deaw)
- Thai Garlic Pork
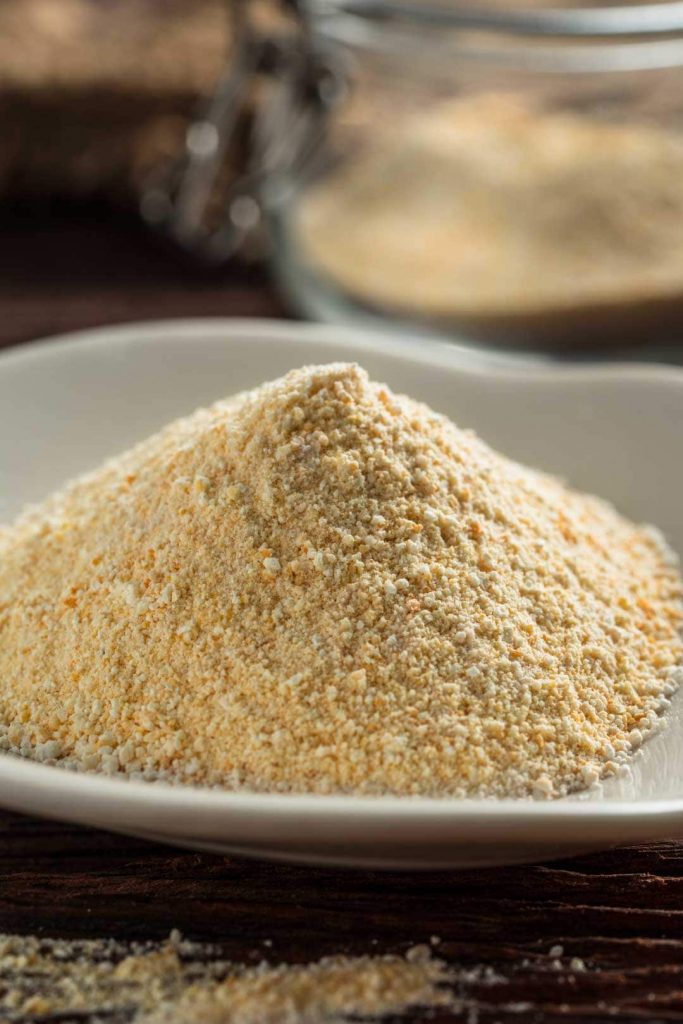
- Toasted Rice Powder (Khao Kua)
📖 Recipe
How To Make Sticky Rice (Stovetop Method)
Ingredients
- 2 cups raw sticky rice you can purchase this here
Instructions
RINSING AND SOAKING
- 1. Rinse 2 cups of glutinous rice in a bowl or pot until the color of the water turns from milky to clear. You might have to do this as many as 5 times.
- 2. Soak the rice overnight or for at least 10 hours. (This is the tip I got from the lady at the rice store. She told me this would make it soft and it works every time!)
STEAMING
- 3. Depending on the size of your pot or whether you're using a huad or metal steaming rack, add just enough water to boil without drying out over medium heat for 30 minutes. Make sure that the water isn't too high so that it doesn't touch rice. Then, boil that pot of water over medium heat. If using a huad, don't go for a very large pot because the bottom of the huad will touch the bottom of the pot, meaning some of the rice will be in the water.
- 4. Transfer the soaked rice from your container into the huad. Then, put the huad in the pot and cover with any pot lid you have that fits. If using a steaming rack, line the rack with a cheesecloth and add the rice on top of the cloth. Pat the rice flat and put the rack over the pot and cover with a lid. Steam for 15 minutes.
- 6. With the heat still on, put on oven mitts and open the lid. Then, lift the huad or steaming rack with two hands and gently toss to turn the rice at the bottom up to the top and vice versa. If you find this difficult to do, use a spatula to turn the rice instead. After that, cover the lid and steam for another 15 minutes. This step is to ensure that the rice will be cooked beautifully and evenly.
STORING
- 7. After steaming for 30 minutes, open the lid to check that the rice is all cooked. Then, turn off the heat and transfer the cooked rice to a large bowl.
- 8. Use the spatula to spread the rice so that it releases the heat. Then, transfer the rice to a sticky rice basket or your preferred container to serve or store in an airtight container at room temperature so it stays soft until ready to eat.