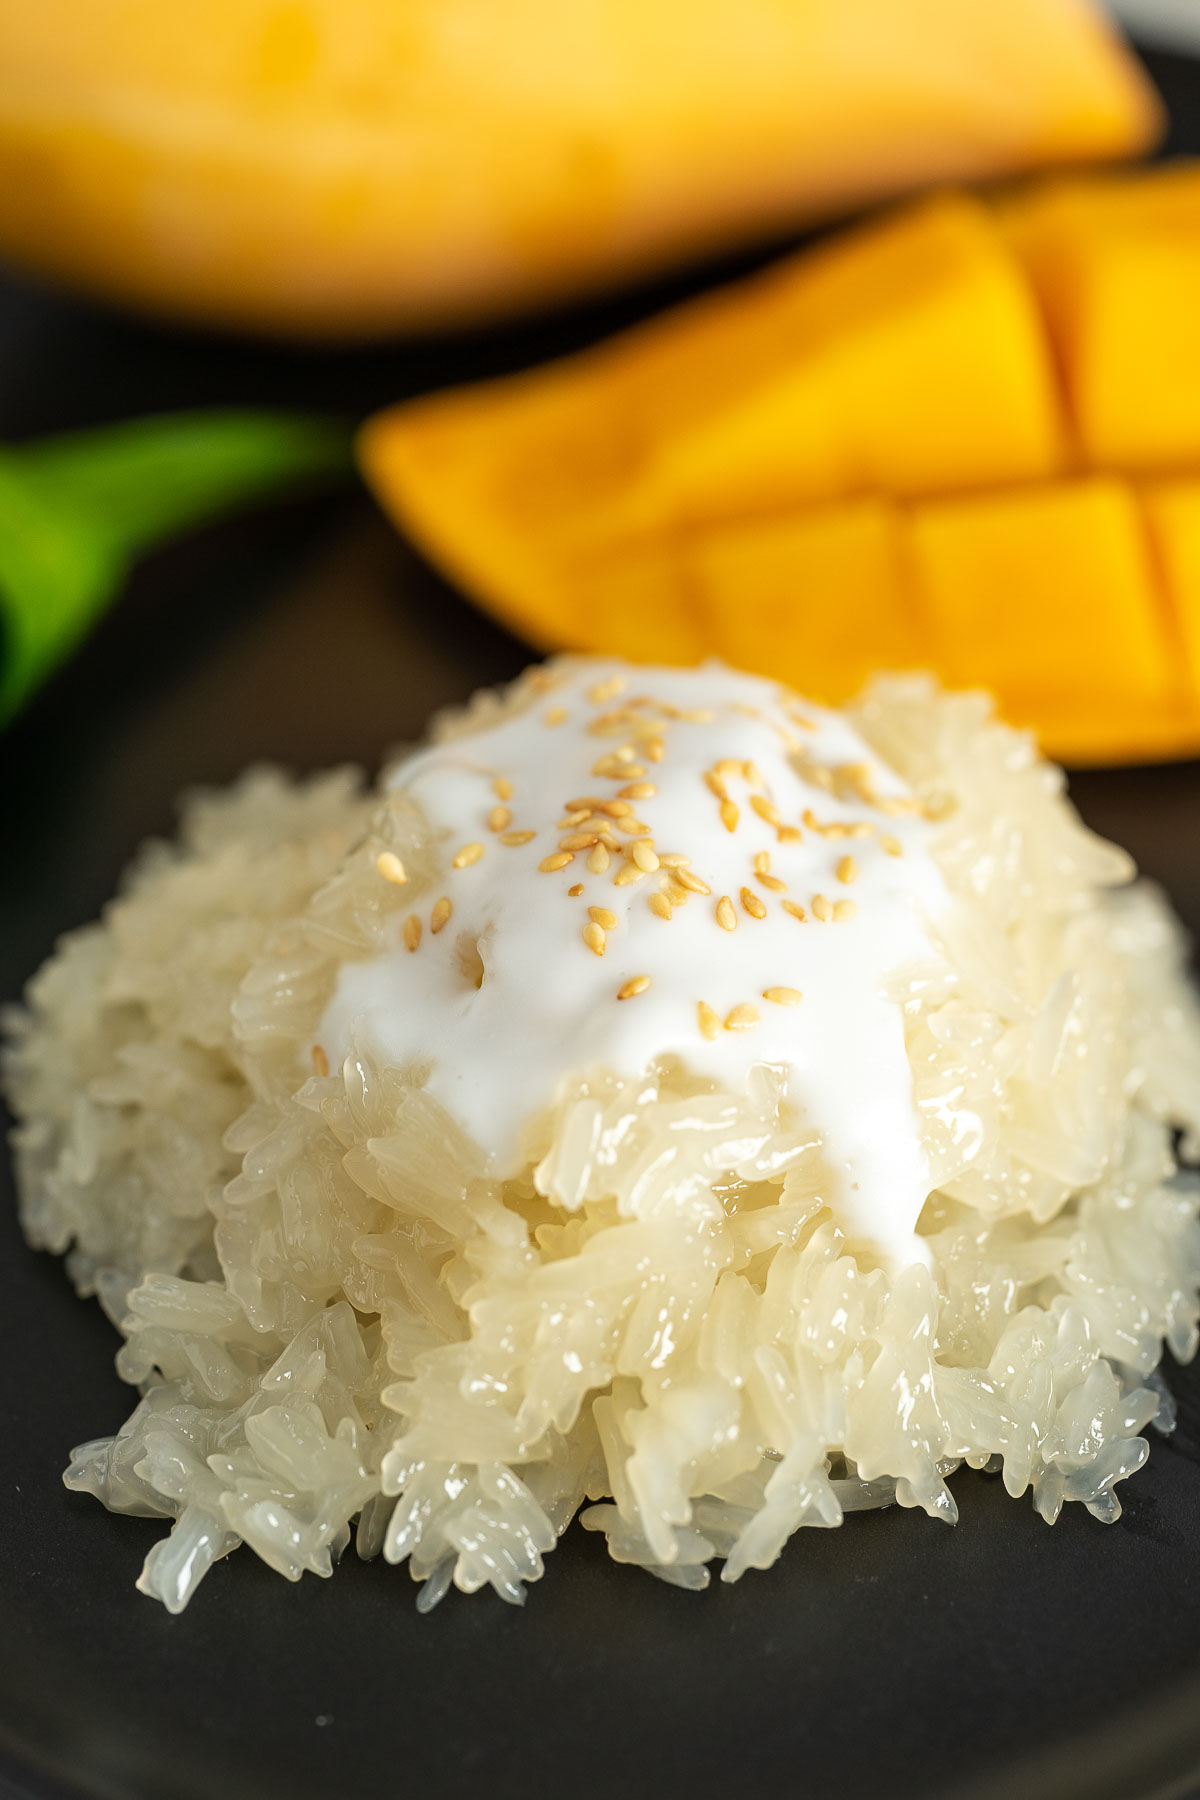
Mango Sticky Rice or Khao Neo Mamuang is an addictive classic Thai dessert and a great way to enjoy fresh mangoes. You can indulge in this gluten-free, vegetarian, and vegan dessert on any occasion and it's so much cheaper when you make it yourself!
Why This Recipe Works
Thai mango sticky rice, also known as sticky rice mango and khao neo mamuang (ข้าวเหนียวมะม่วง) in Thai, is one of the most famous Thai desserts that just about everyone enjoys. If anyone tells you it's a love-at-first-bite kind of dessert, you should definitely believe them!
Usually, in Thai restaurants, both in Thailand and overseas, this dessert can be quite pricey. If you make this yourself at home, you can have a large amount to enjoy in many portions or share with others for a much, much cheaper price.
Although it does take a bit of time to make, this sweet sticky rice mango recipe is authentic and as good as it gets. And trust me it doesn't take too long and is completely worth it!
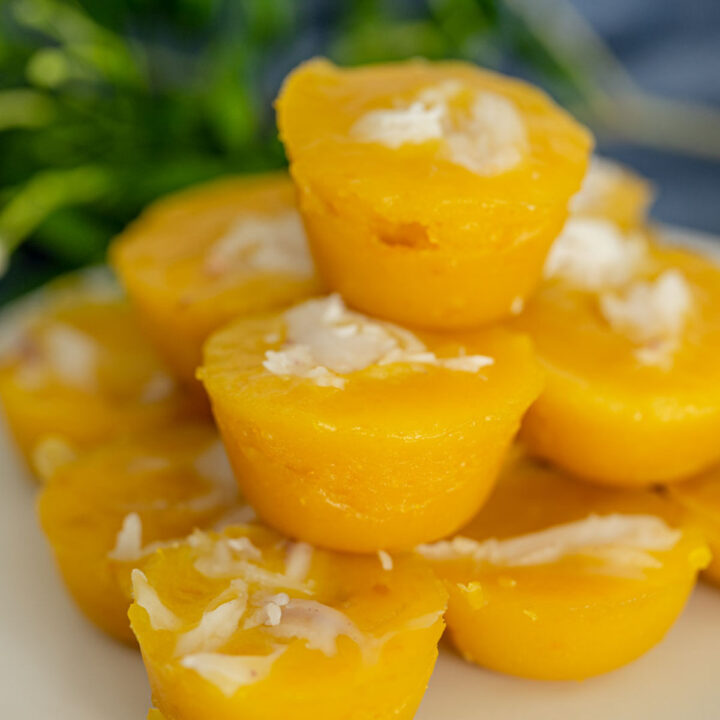
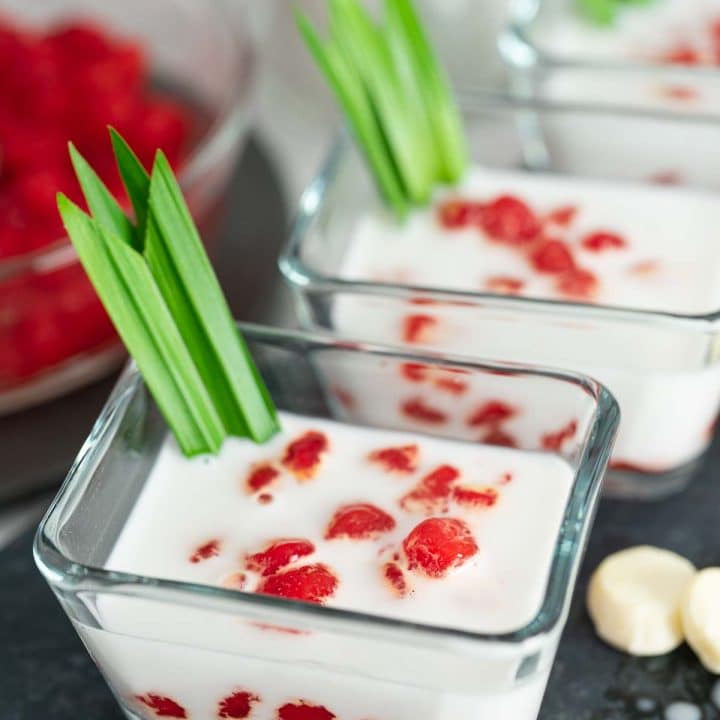
Oh, and if you love Thai or Thai-inspired desserts, don't forget to check out my Thai sticky rice pudding with corn, Thai-style shaved ice dessert (nam kang sai), tub tim grob, rainbow polka dot jello, Thai pumpkin in coconut milk, and easy Thai tea cheesecake recipes!
Video Tutorial
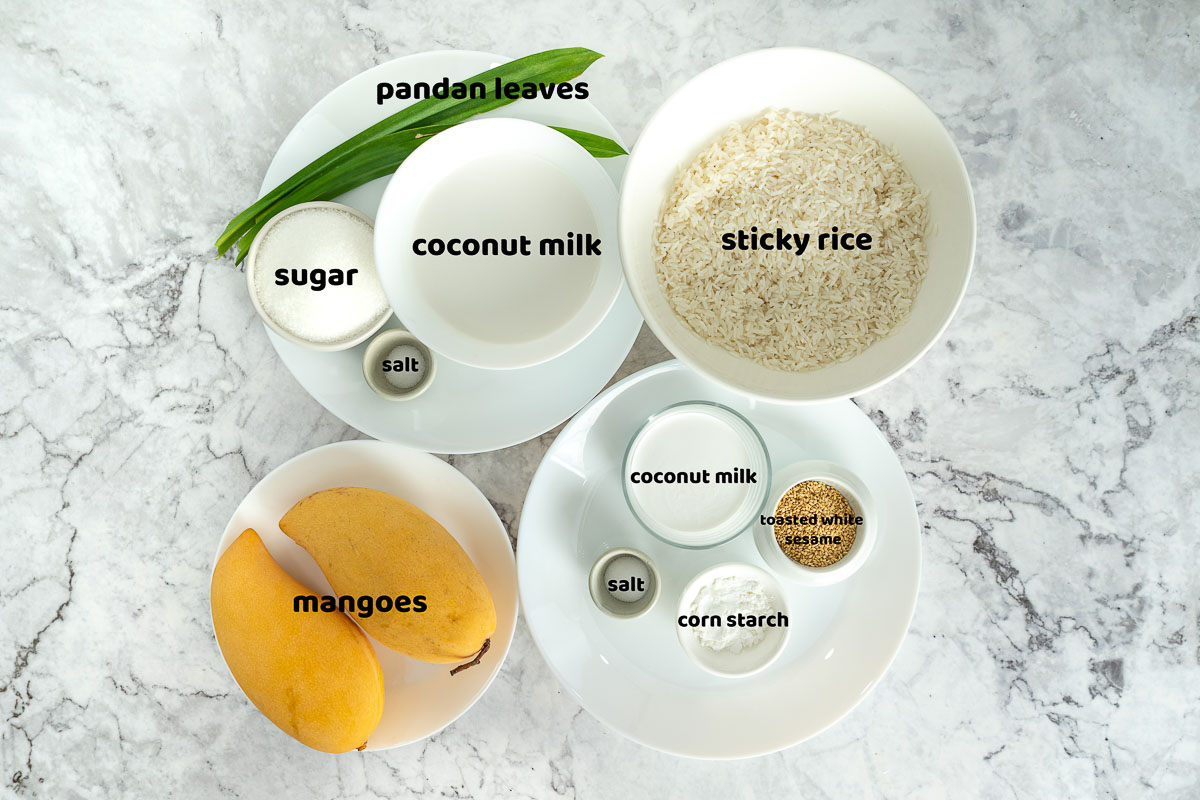
Ingredients You Need
Here is a visual overview of the all the ingredients in the recipe. Scroll down to the recipe at the bottom for quantities.
Ingredients Notes
A few things you want to know about a few of the ingredients!
Sticky Rice: Undoubtedly, you want to use sticky rice, also known as glutinous or sweet rice to make khao neo moon (ข้าวเหนียวมูน) which is the sweet sticky rice made with coconut milk, arguably the most integral parts of this dessert. If you live in Thailand, visit a rice store at a local wet market and ask for "Khao Neo Keo Ngoo (ข้าวเหนียวเขี้ยวงู)" - this literally translates to “sticky rice snake teeth.”
Rice stores usually have two types of keo ngoo sticky rice – old and new. With this, old doesn’t mean bad. The two types are just used for different things. Just tell them you want to make mango sticky rice and they’ll be able to pick the right kind they have for you.
For those, not living in Thailand, here’s where you can order Thai sticky rice online.
Pandan Leaves
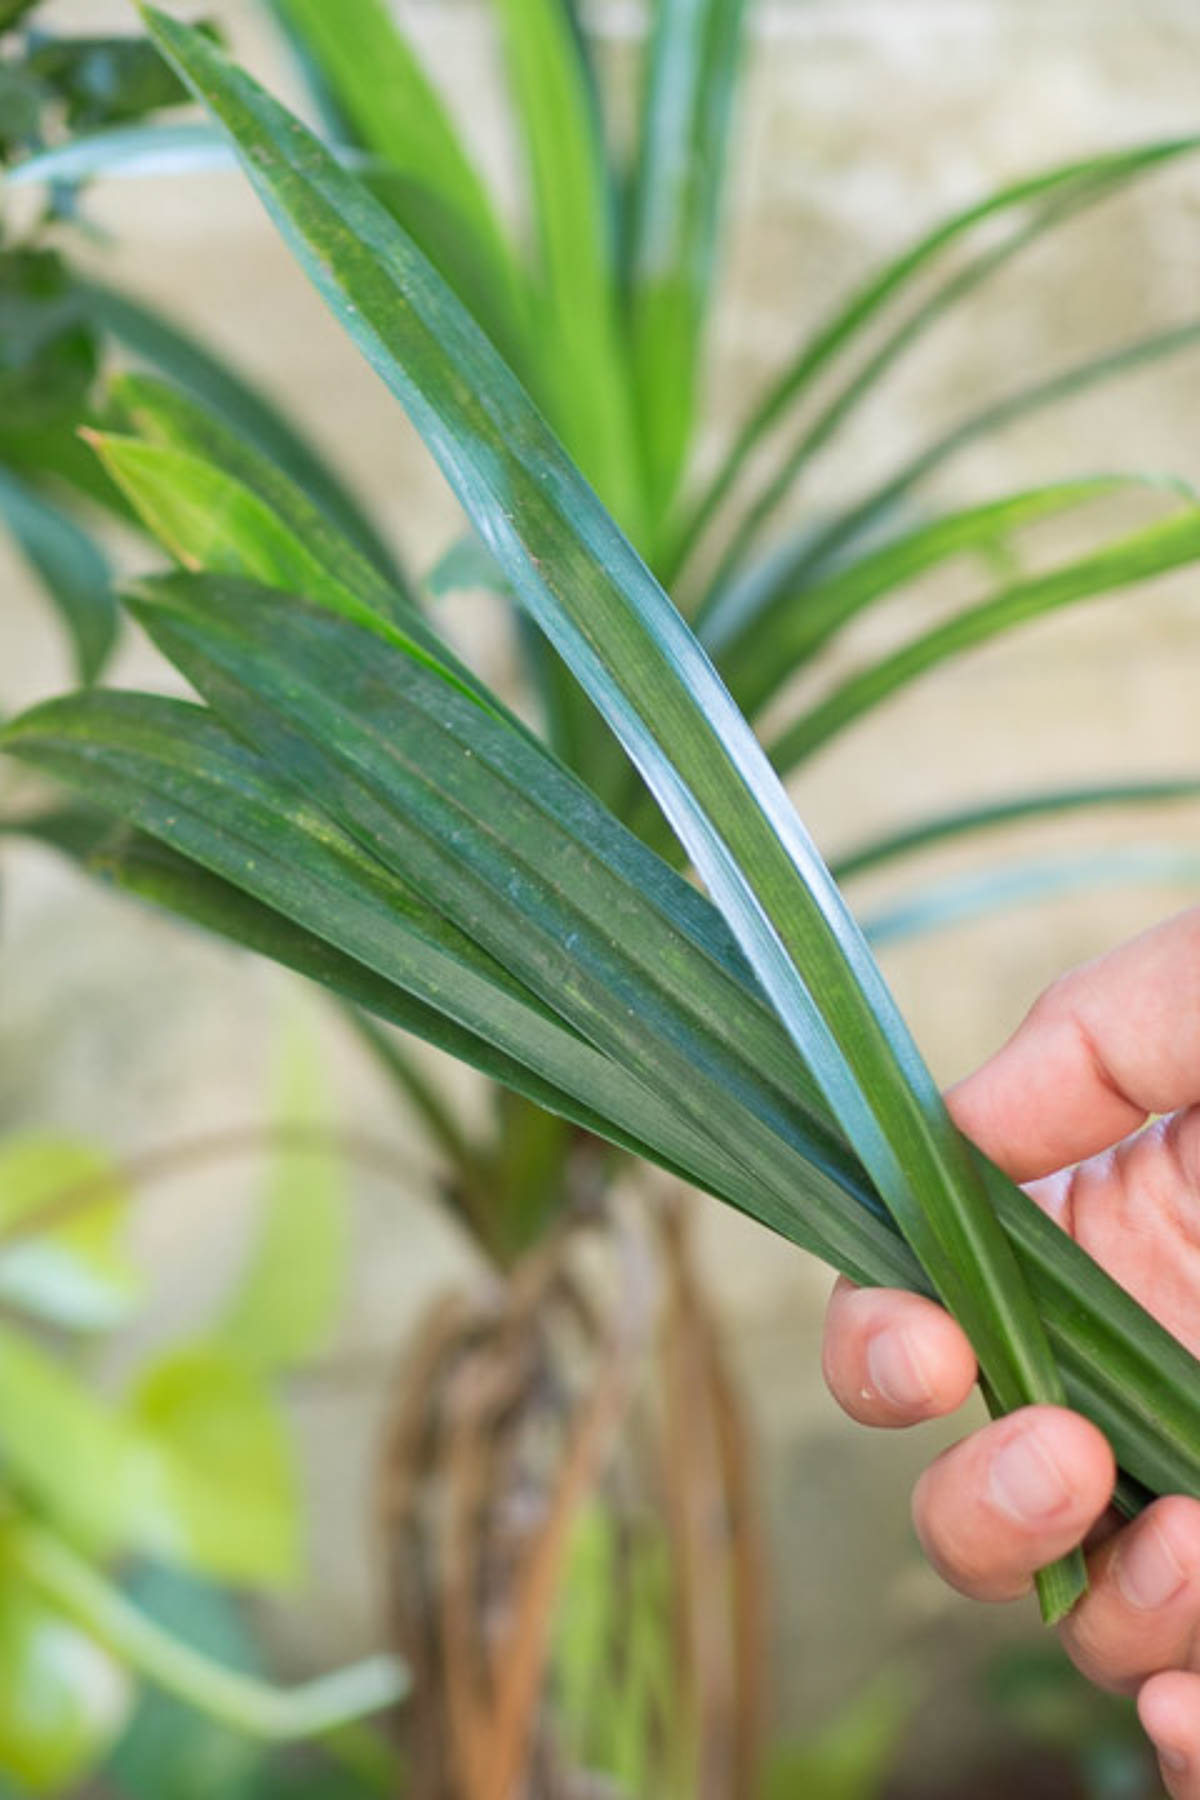
Pandan leaves are used in many traditional Thai desserts for its green color and amazing fragrance. For this recipe, we're only using it to add that pleasant smell to the coconut syrup which will be pour over cooked sticky rice. Though, you could extract its color to make your sticky rice green too if you wanted.
Now I understand that pandan leaves may not be easy to find all over the world. If you can't find them, you can omit them. Your sticky rice will still be delicious but just without that little nice touch. Or you can check if this shop deliver fresh pandan leaves to your address.
Mango
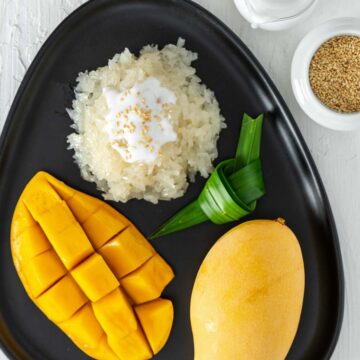
Choosing the perfect mangoes for this dessert is easy-peasy. Any sweet ripe mango will do! We have different types of mangoes here in Thailand, but the most popular ones to accompany the sweet sticky rice in mango sticky rice are mamuang ok rong (มะม่วงอกร่อง) and mamuang name dok mai (มะม่วงน้ำดอกไม้). Both types are really sweet when ripe but they are different in terms of smell and texture.
The ones you see in the picture above are nam dok mai mangoes. I prefer this type because it has a smoother texture. Ok rong mangoes have a stronger smell which a lot of Thais LOVE, but the texture can be very fibrous. I'm not a big fan of its texture.
Step-By-Step Instructions
Quick Tips
- Make sure you soak it overnight before making this recipe so that your sweet sticky rice turns out nice and soft.
- Also bruise the pandan leaves before you use them so you can extract the most fragrance out of them.
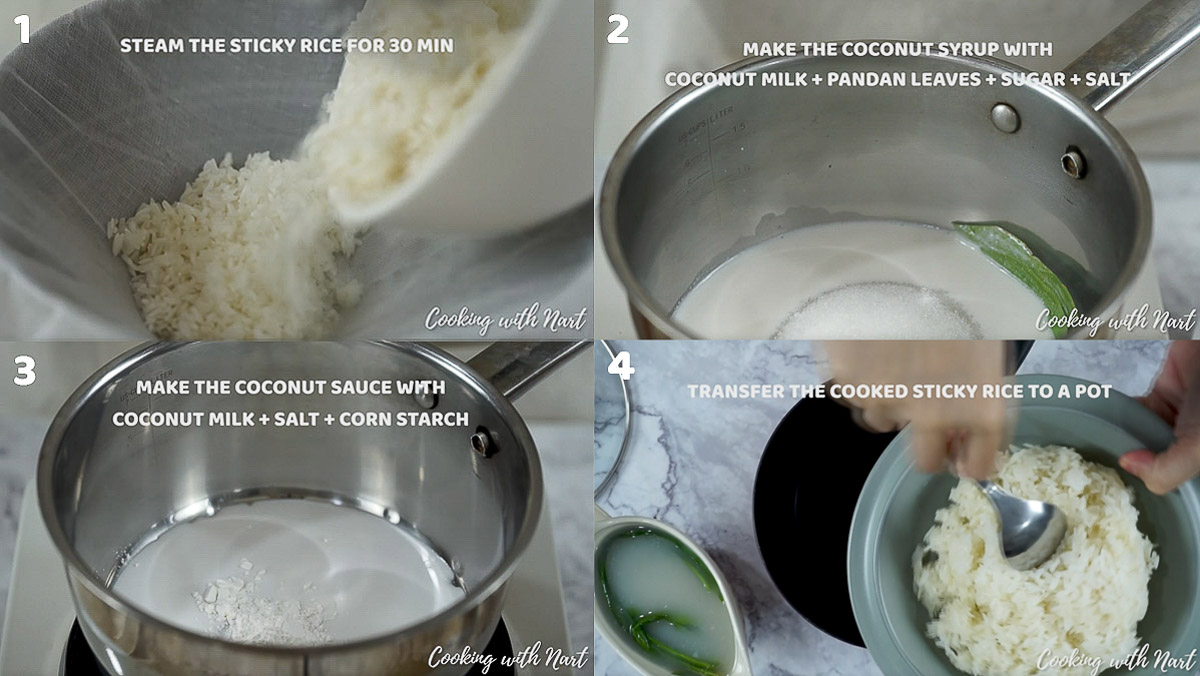
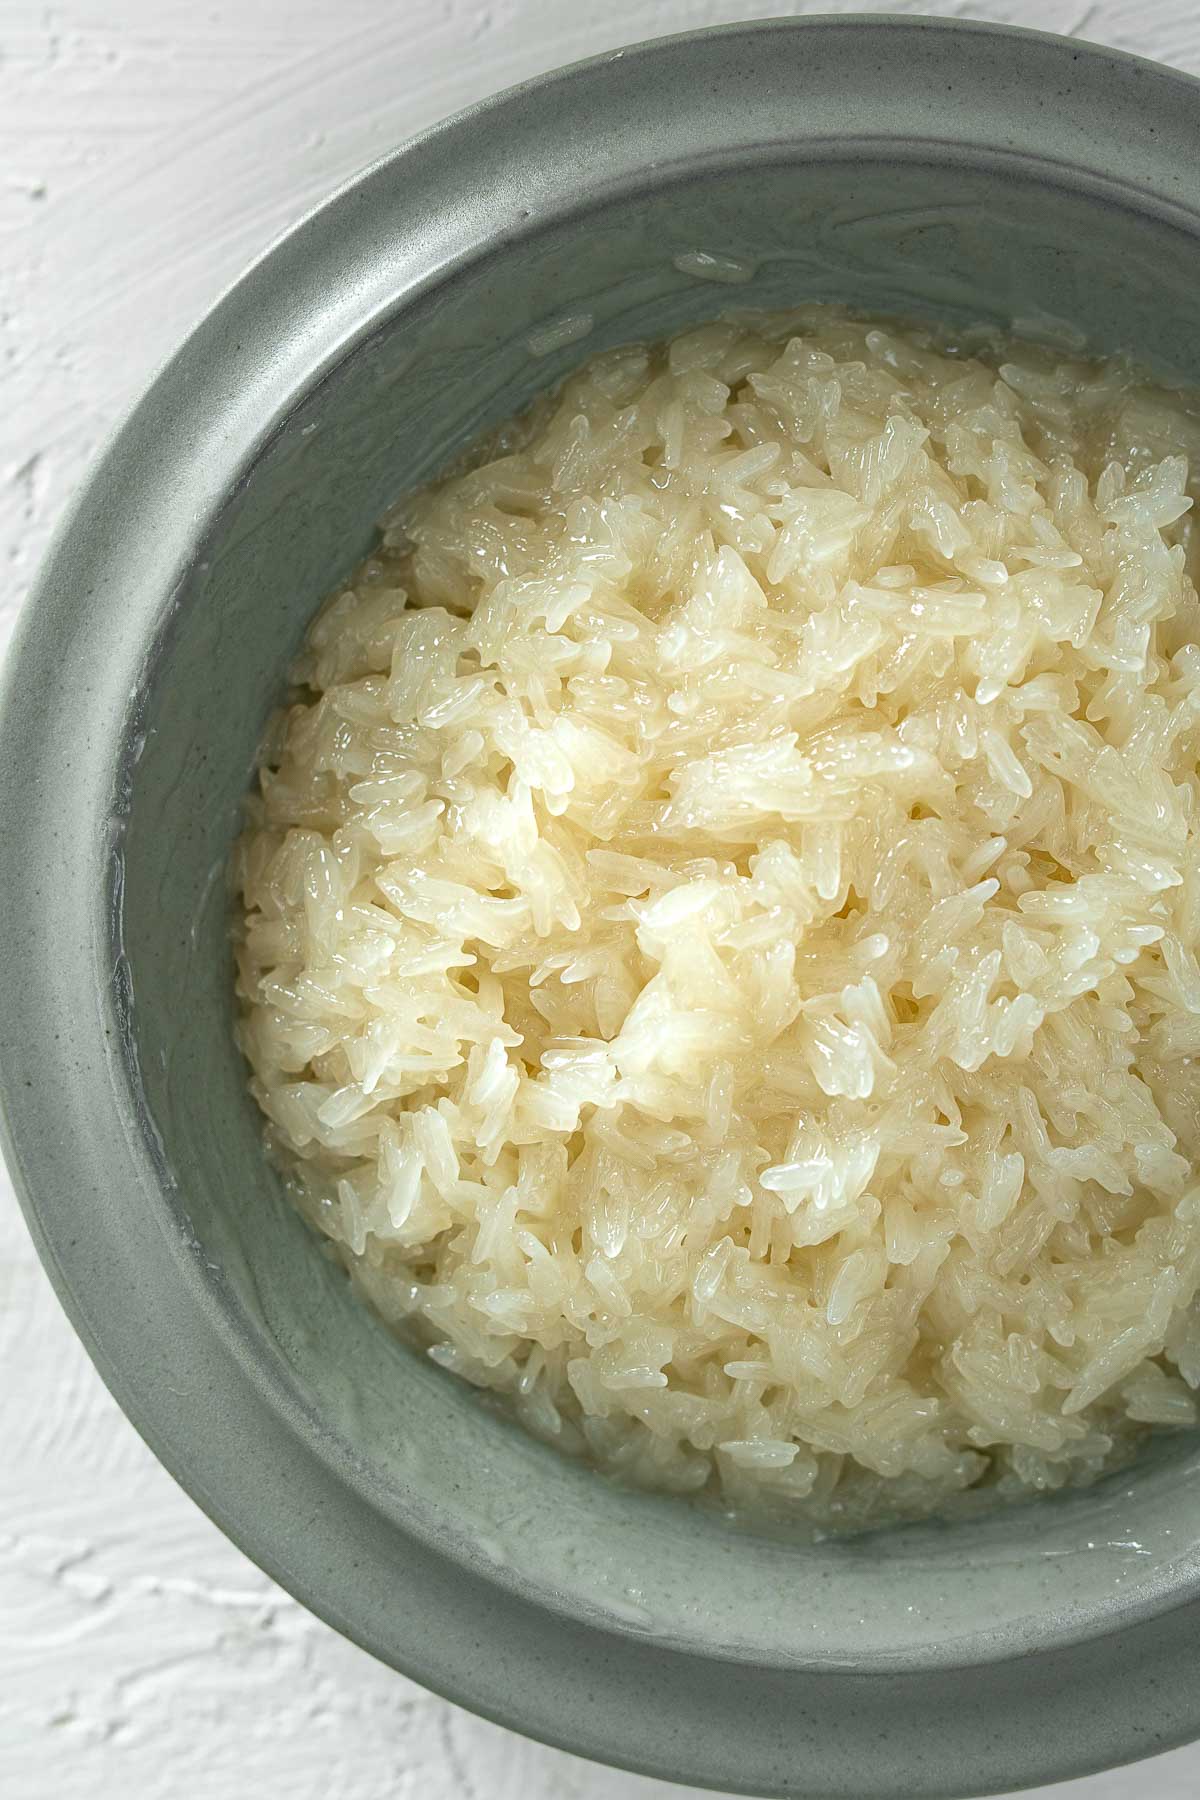
Step 1: Bring a pot of water to a hard boil. Put a steamer on top of the pot and steam the rice that has been soaked overnight in a cheesecloth in a steamer with a lid on for 30 minutes.
Step 2: While the sticky rice is cooking, make the coconut syrup for sweetening the rice by bringing 1 cup of coconut milk, ¼ teaspoon of salt, ½ cup plus 2 tablespoons of granulated sugar and 3 pandan leaves to a gentle boil.
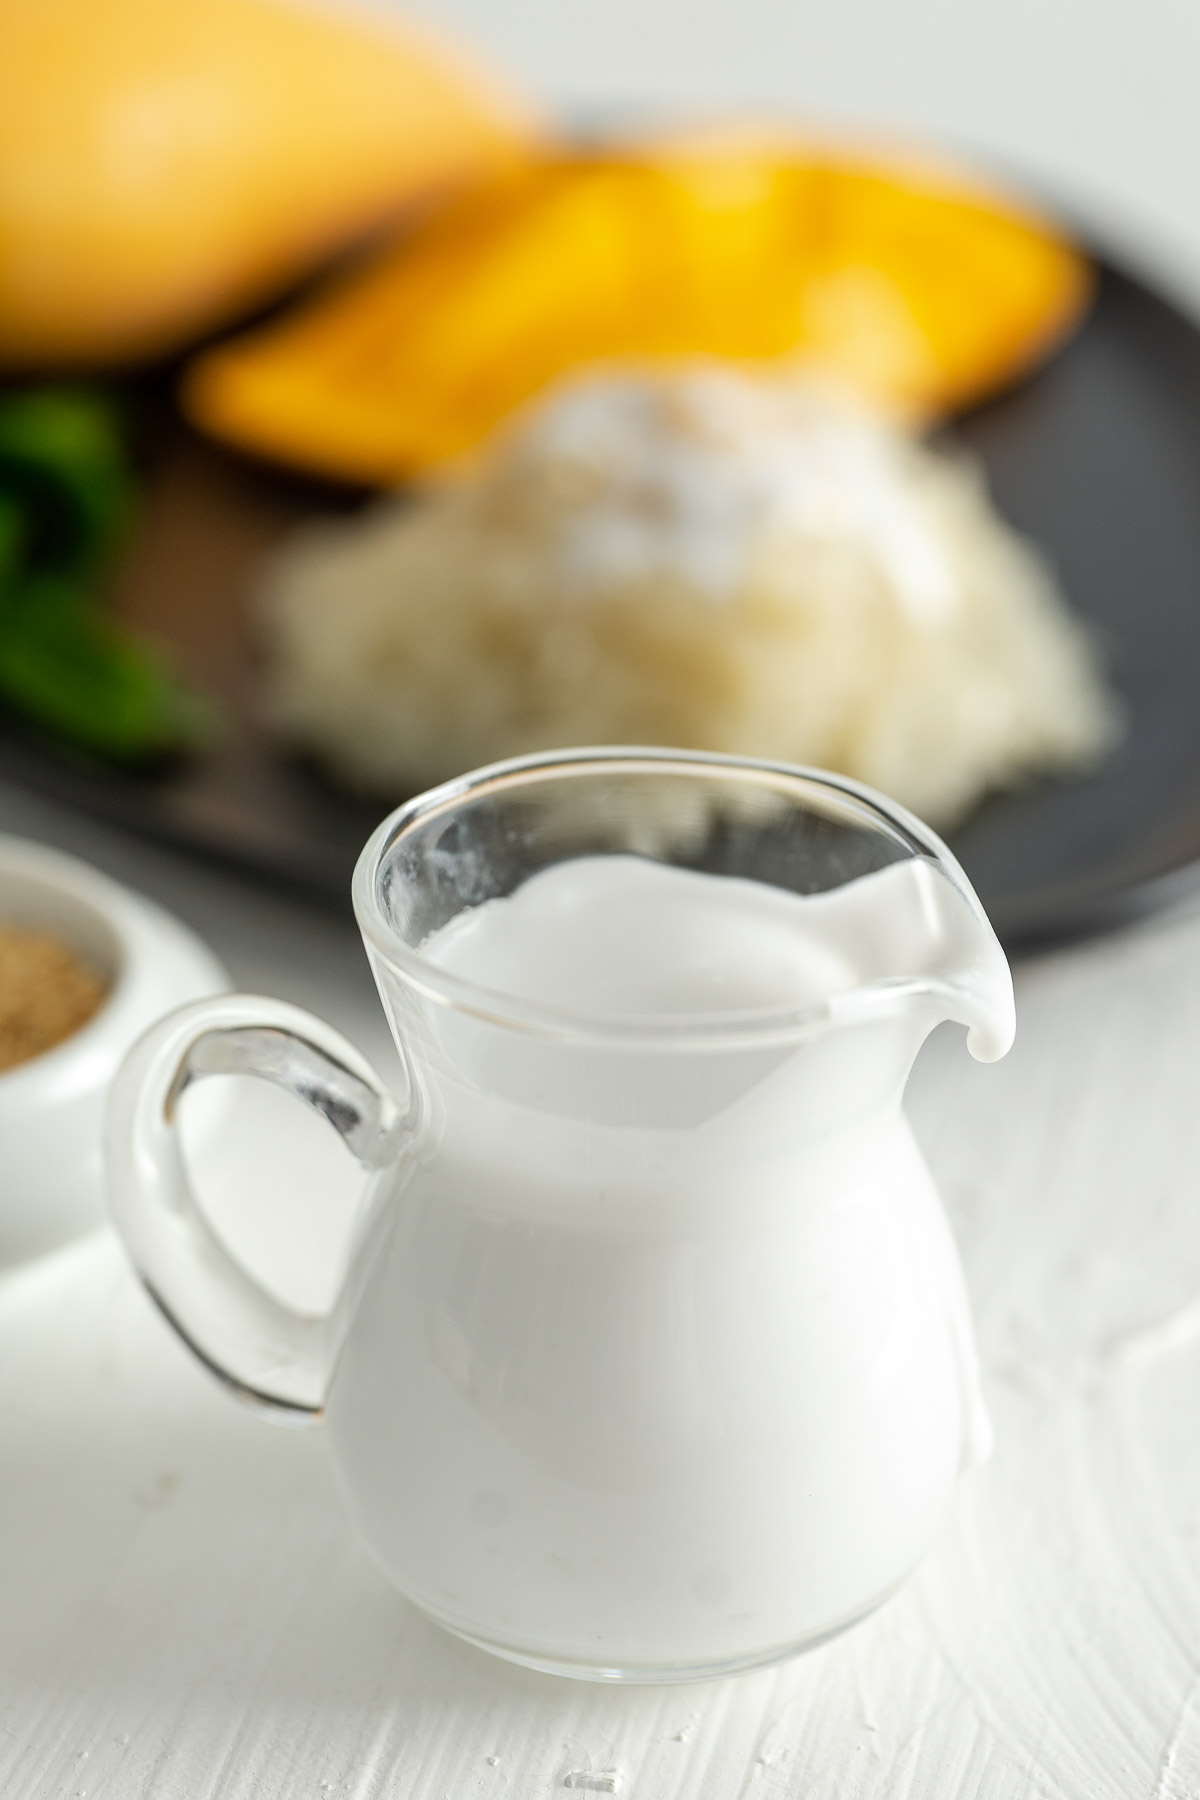
Step 3: Make the coconut sauce for drizzling over the sweet sticky rice by bringing ¾ cup of coconut milk and ¼ teaspoon of salt to a gentle boil. Then, add 1 tablespoon of corn starch, stir until thickened and remove from heat.
Step 4: Once the sticky rice is cooked, transfer it from the cheesecloth to a pot.

Step 5: Add the coconut syrup to the rice, mix it in with a spatula. Then, cover the pot with a lid and let the rice absorb the coconut syrup for 20-30 minutes. The sweet sticky rice is ready when the rice has absorbed all the liquid and the rice should look shiny.
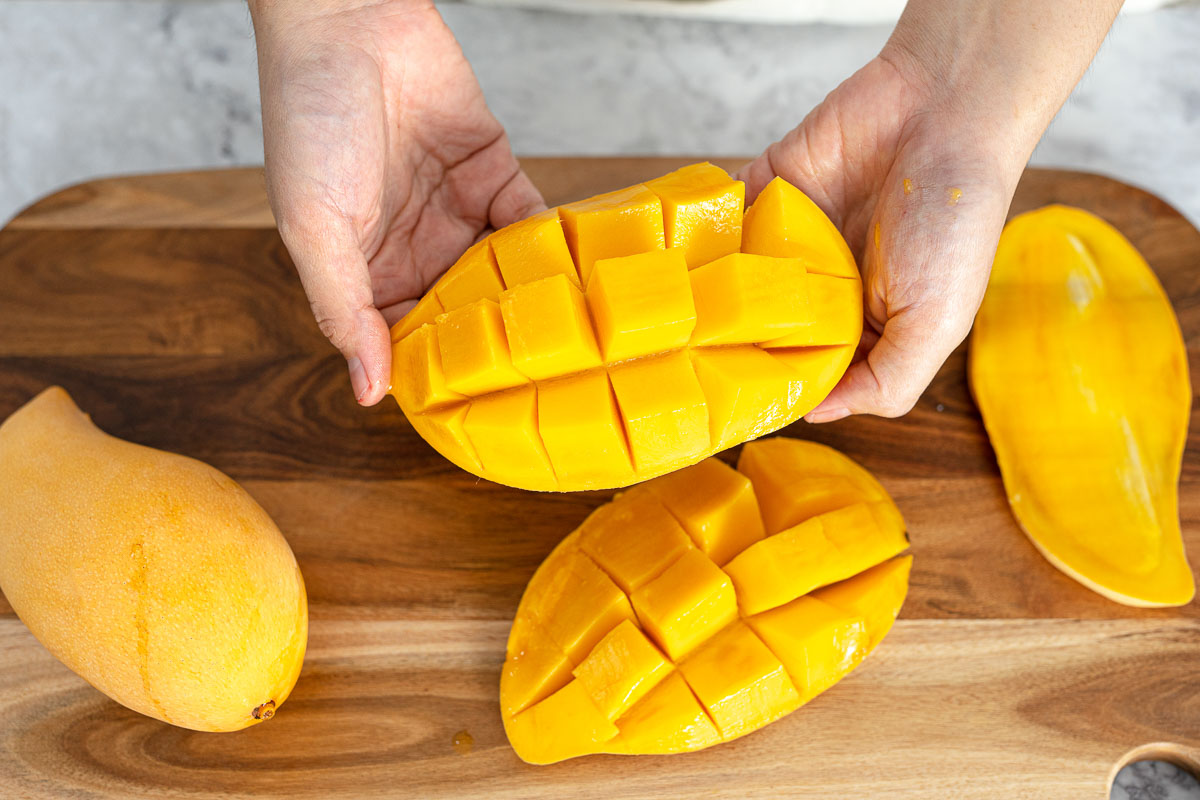
Step 6: Prepare the mangoes by slicing them lengthways on both sides of the stones. Then score a lattice into the flesh without cutting through the skin and gently push the skin to make the cubes stand out. Alternatively, you can peel the mangoes and cut the flesh into bite-size pieces.
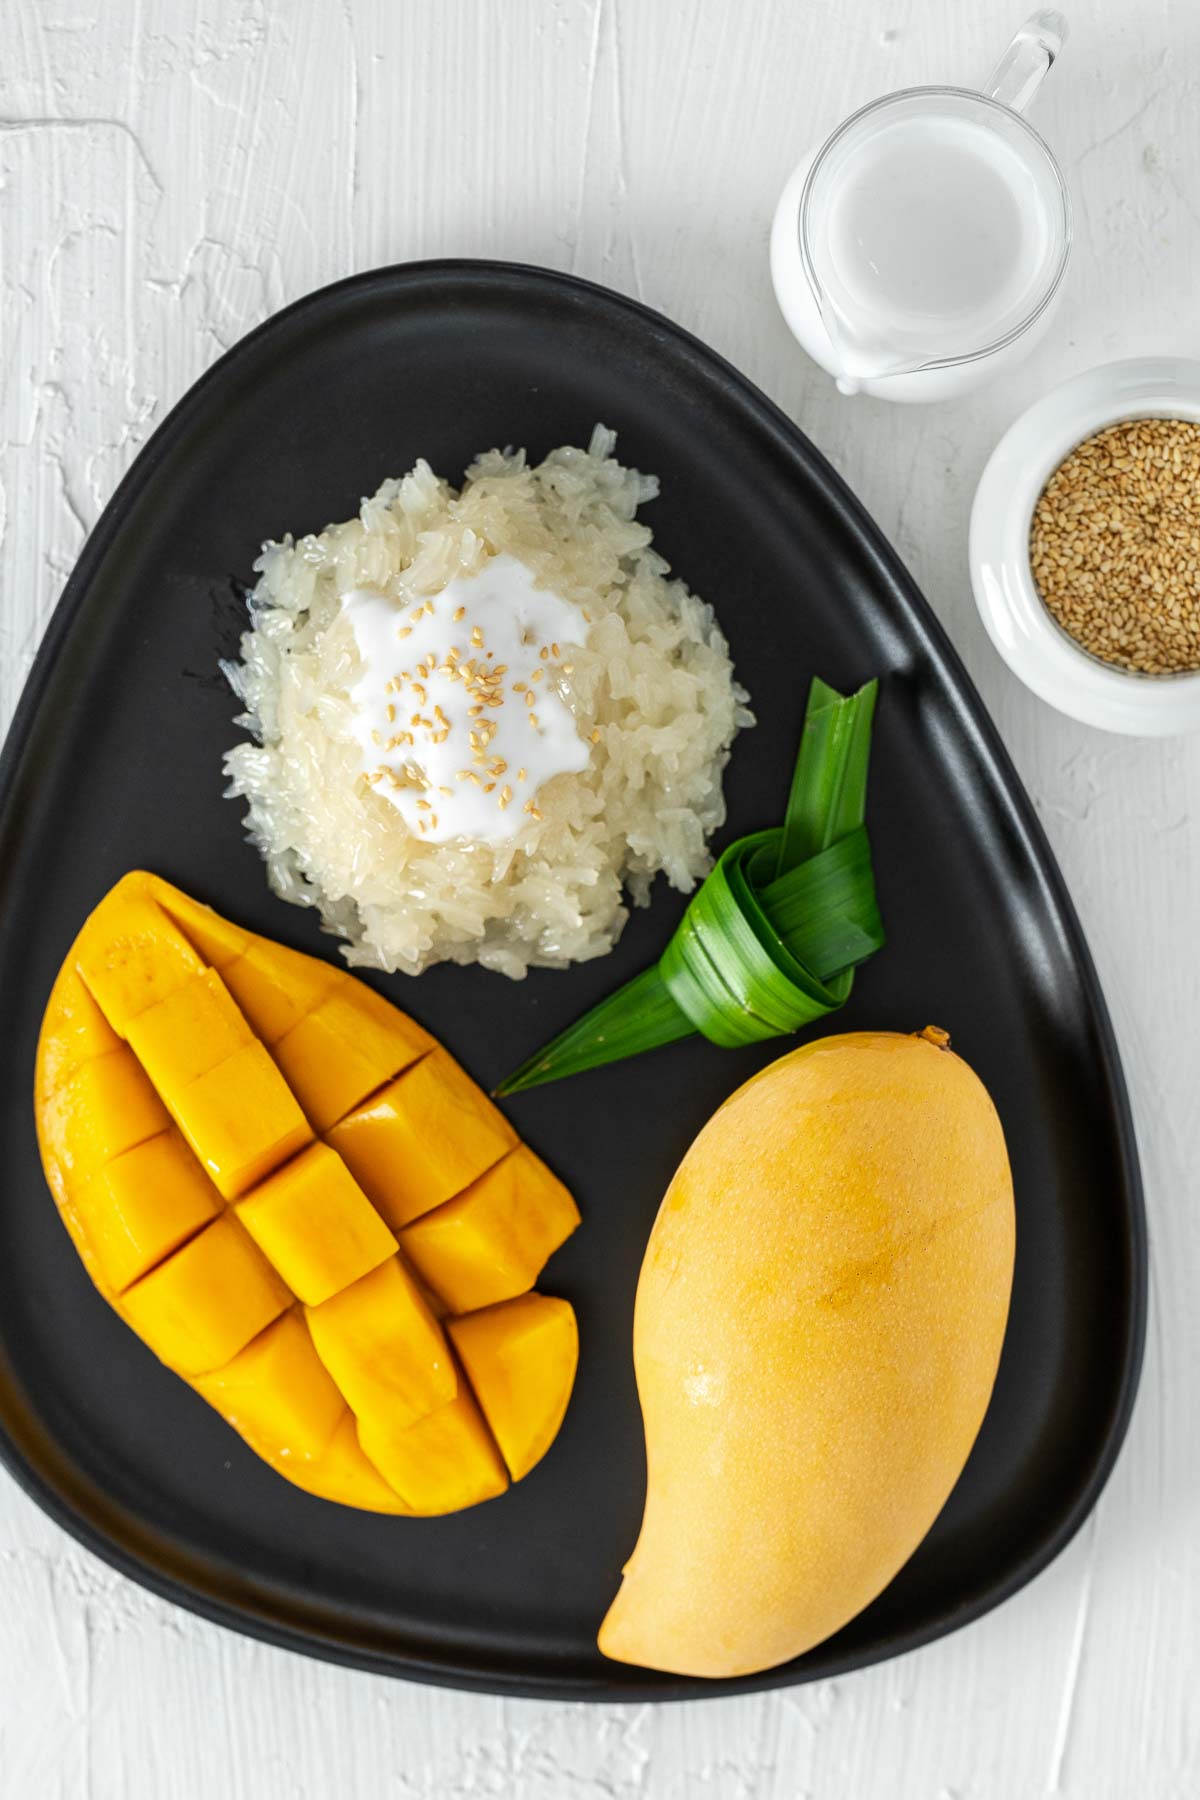
Step 7: To serve, arrange the mango and sweet sticky rice on a serving plate side by side. You might want to garnish with fresh pandan or mint leaves just to add a bit of green to the plate.
Step 8: Drizzle the salty coconut sauce over the sticky rice and top the sauce with toasted white sesame seeds or fried split mung beans and serve.
Notes: This dessert can be eaten after a meal or as a "snack" - it's a heavy snack but that's how we roll. To enjoy the Thai mango sticky rice, make sure you have everything (the rice, the mango, the sauce, and the topping) in one bite. 🙂
Storing and Reheating
Mango sticky rice is best consumed within the day of making as that's when the rice has the best texture. However, if you don't finish it within one sitting, the rice and the sauce will keep for 1-2 days in the fridge. You can store them separately in airtight containers and reheat each in the microwave for 1.5-2 minutes before eating. Note that the rice may become drier after reheating.
Related Post


📖 Recipe
Mango Sticky Rice Recipe
Ingredients
SWEET STICKY RICE
- 1 cup sticky rice soaked overnight
- 1 cup coconut milk
- ⅝ cup granulated sugar
- ¼ teaspoon salt
- 3 pandan leaves
SALTY COCONUT SAUCE
- ¾ cup coconut milk
- ¼ teaspoon salt
- 1 tablespoon corn starch
MANGOES
- 2 ripe mangoes
TOPPING CHOICES (OPTIONAL)
Instructions
- Bring a pot of water to a hard boil. Put a steamer on top of the pot and steam the rice that has been soaked overnight in a cheesecloth in a steamer with a lid on for 30 minutes.
- While the sticky rice is cooking, make the coconut syrup for sweetening the rice by bringing 1 cup of coconut milk, ¼ teaspoon of salt, ½ cup plus 2 tablespoons of granulated sugar and 3 pandan leaves to a gentle boil.
- Make the coconut sauce for drizzling over the sweet sticky rice by bringing ¾ cup of coconut milk and ¼ teaspoon of salt to a gentle boil. Then, add 1 tablespoon of corn starch, stir until thickened and remove from heat.
- Once the sticky rice is cooked, transfer it from the cheesecloth to a pot.
- Add the coconut syrup to the rice, mix it in with a spatula. Then, cover the pot with a lid and let the rice absorb the coconut syrup for 20-30 minutes. The sweet sticky rice is ready when the rice has absorbed all the liquid and the rice should look shiny.
- Prepare the mangoes by slicing them lengthways on both sides of the stones. Then score a lattice into the flesh without cutting through the skin and gently push the skin to make the cubes stand out. Alternatively, you can peel the mangoes and cut the flesh into bite-size pieces.
- To serve, arrange the mango and sweet sticky rice on a serving plate side by side. You might want to garnish with fresh pandan or mint leaves just to add a bit of green to the plate.
- Drizzle the salty coconut sauce over the sticky rice and top the sauce with toasted white sesame seeds or fried split mung beans and serve.
Video
Notes
- Make sure you soak it overnight before making this recipe so that your sweet sticky rice turns out nice and soft.
- Bruise the pandan leaves before you use them so you can extract the most fragrance out of them.
- ⅝ cup of granulated sugar equals ½ cup plus 2 tablespoons.
- Mango sticky rice is best consumed within the day of making as that’s when the rice has the best texture. However, if you don’t finish it within one sitting, the rice and the sauce will keep for 1-2 days in the fridge. You can store them separately in airtight containers and reheat each in the microwave for 1.5-2 minutes before eating. Note that the rice may become drier after reheating.